Floor Ramp
Problem
The autonomous vacuum sometimes gets stuck between two rooms due to a small lip.
Process
Over two years ago, I took this on as one of my first projects for my new printer. I tried to get a 3d scan of the lip using my phone, but the free apps I found to do this couldn't handle this surface instead of a free-standing object. I measured it myself and printed out these ramps, with dowels and slots to account for the slightly uneven surface. These ramps lasted for about a year until someone stepped on them just right and snapped a piece, as well as the fragile dowels. This cascaded until stepping on it at all would knock pieces out of place.
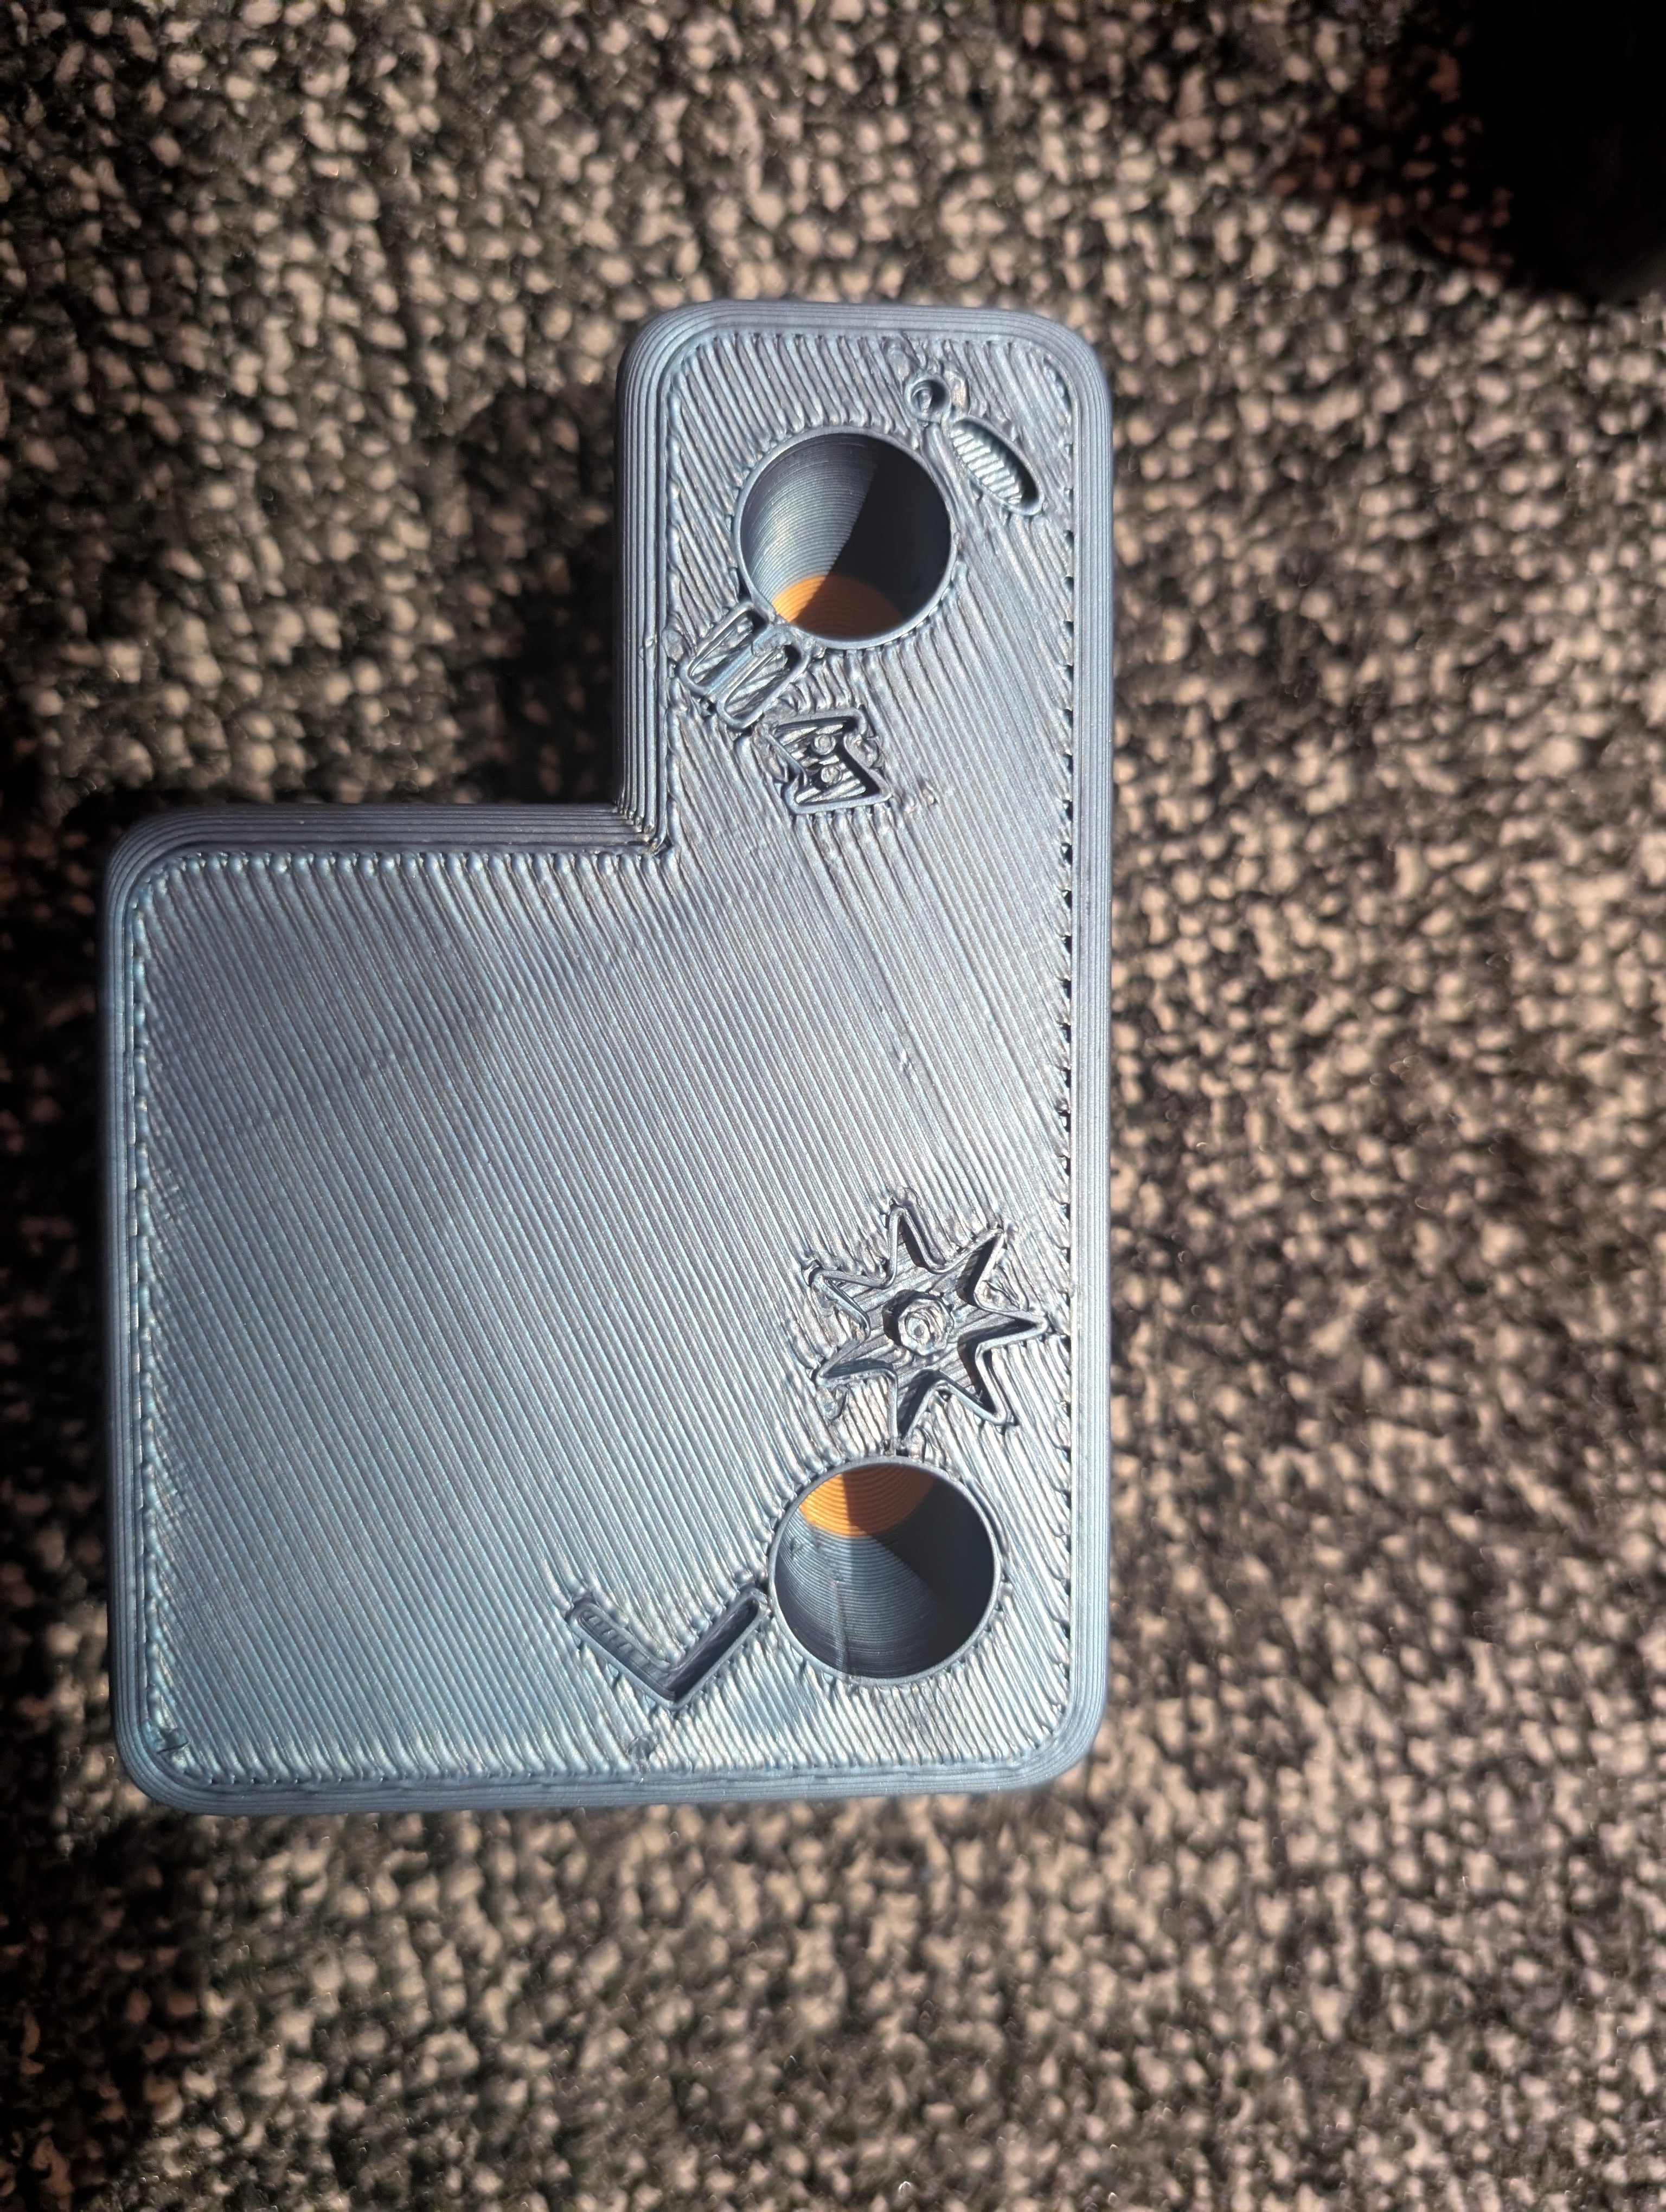
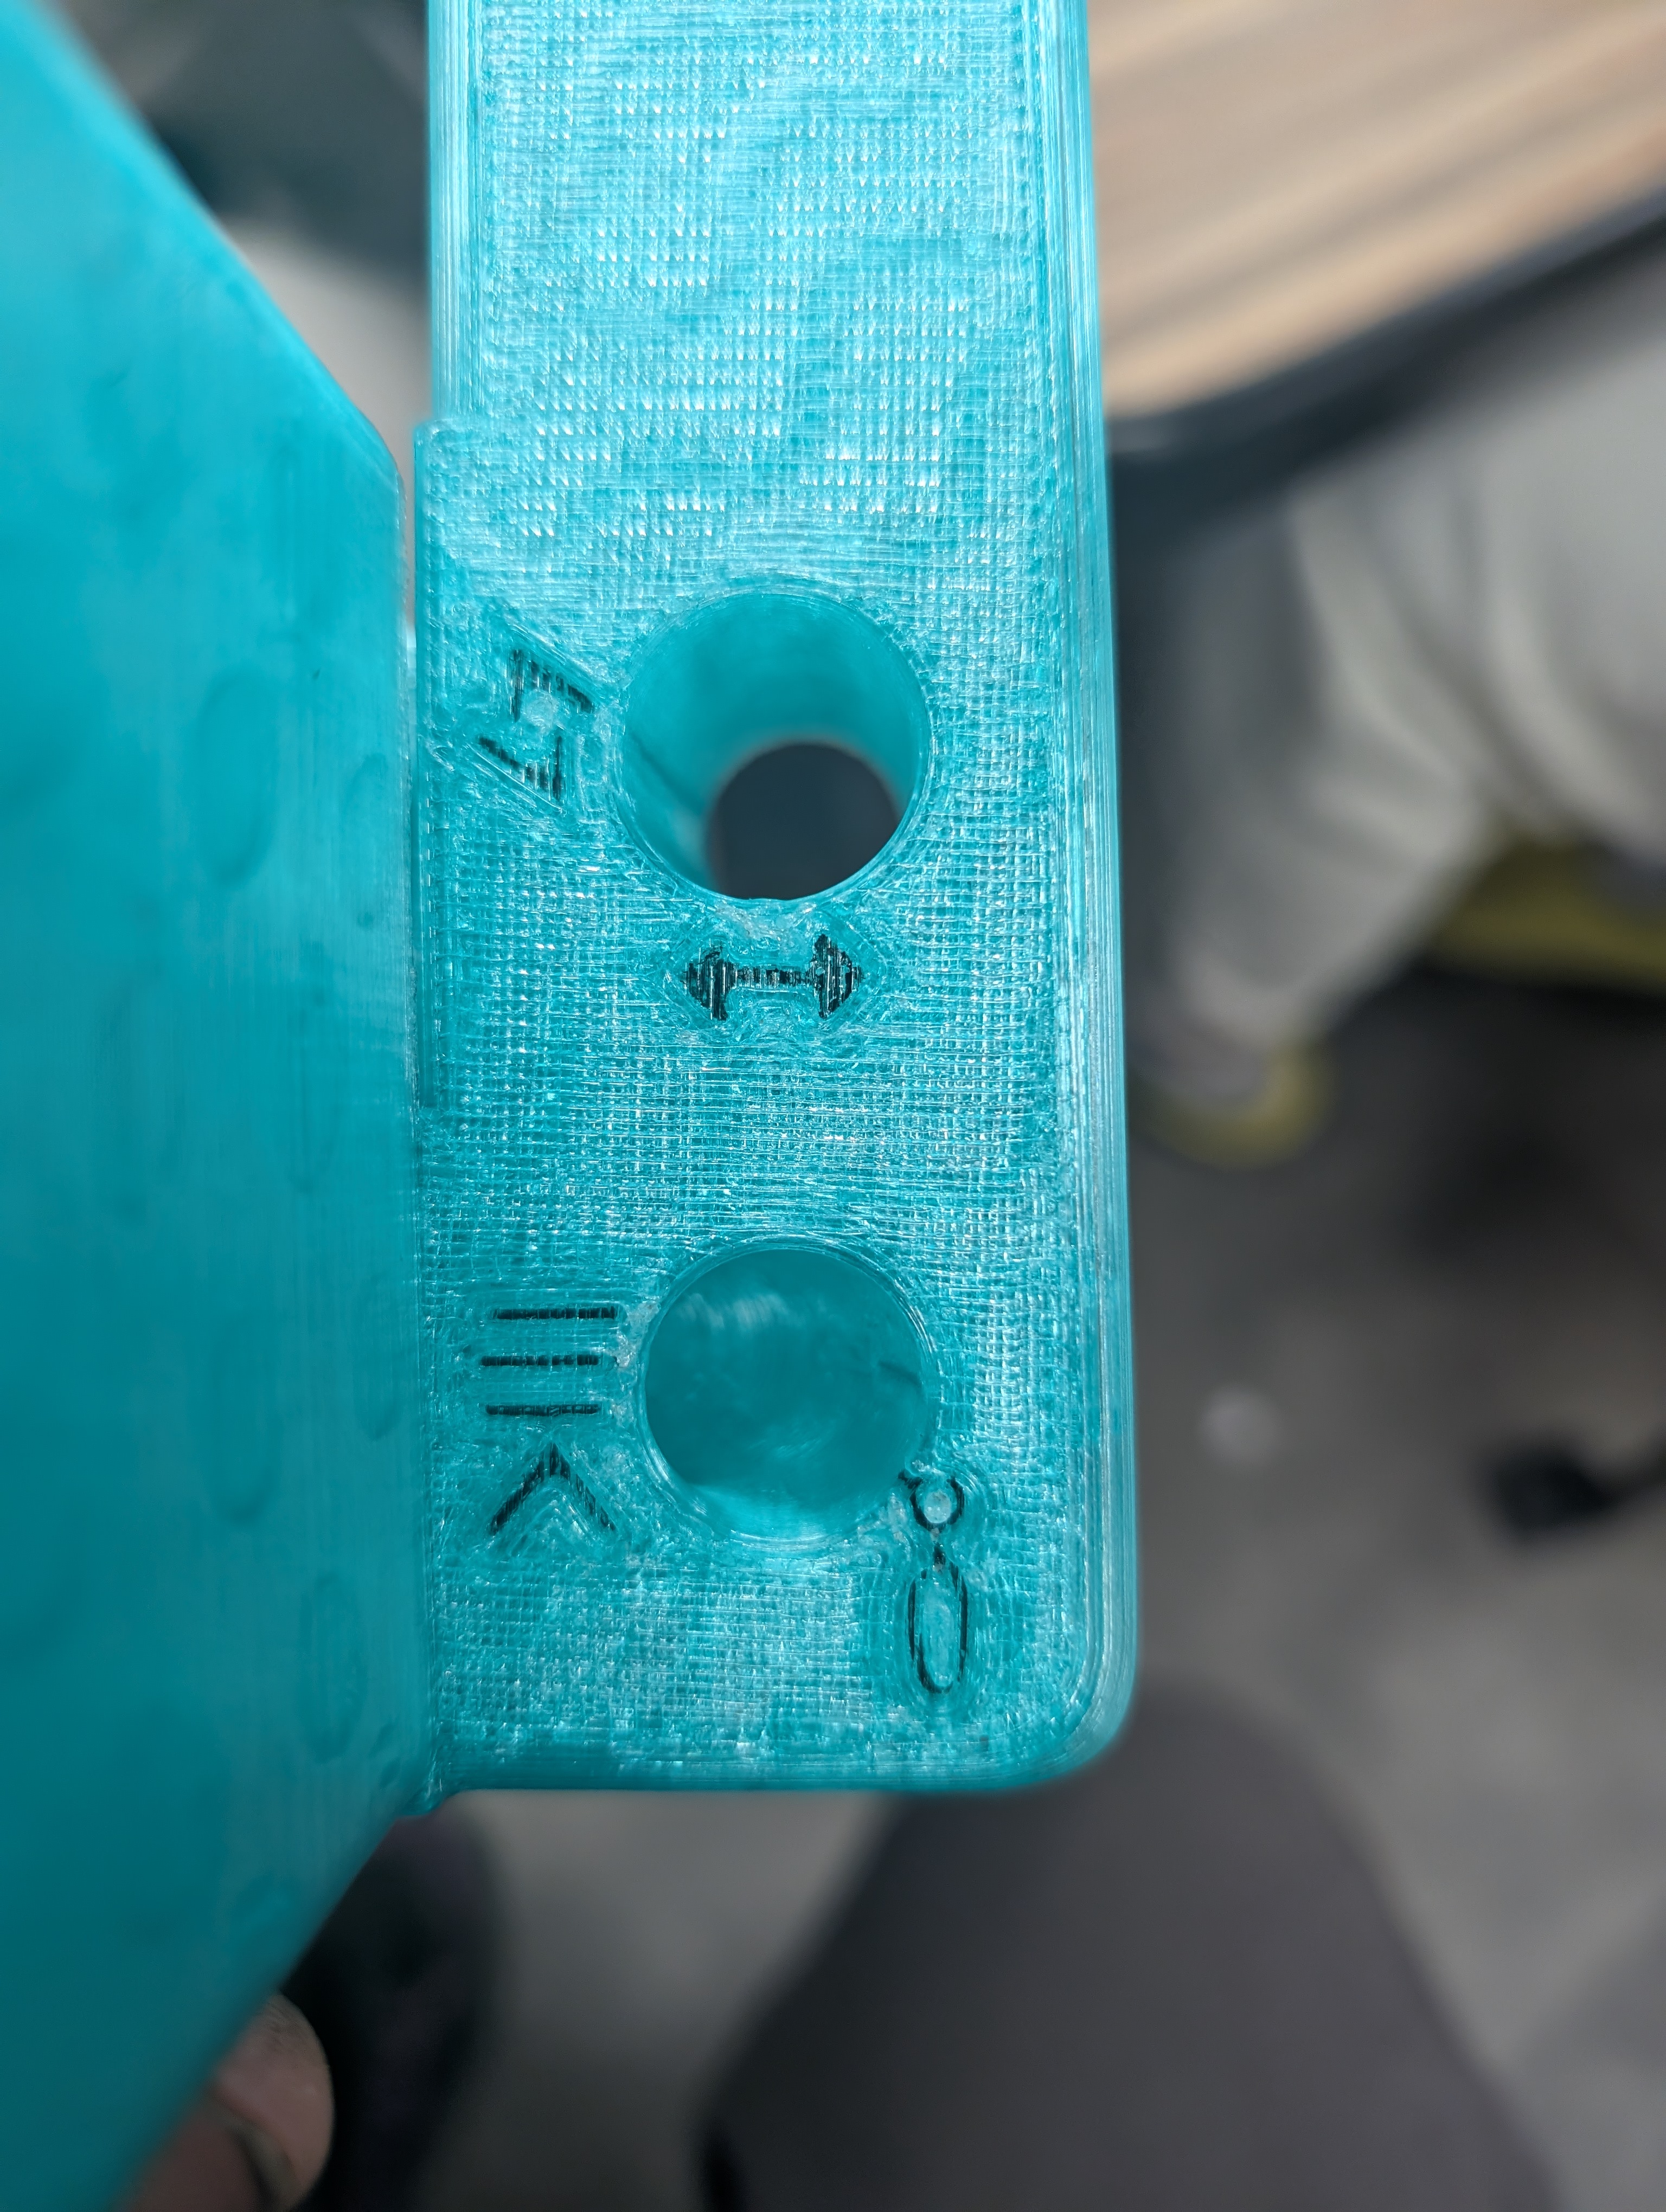
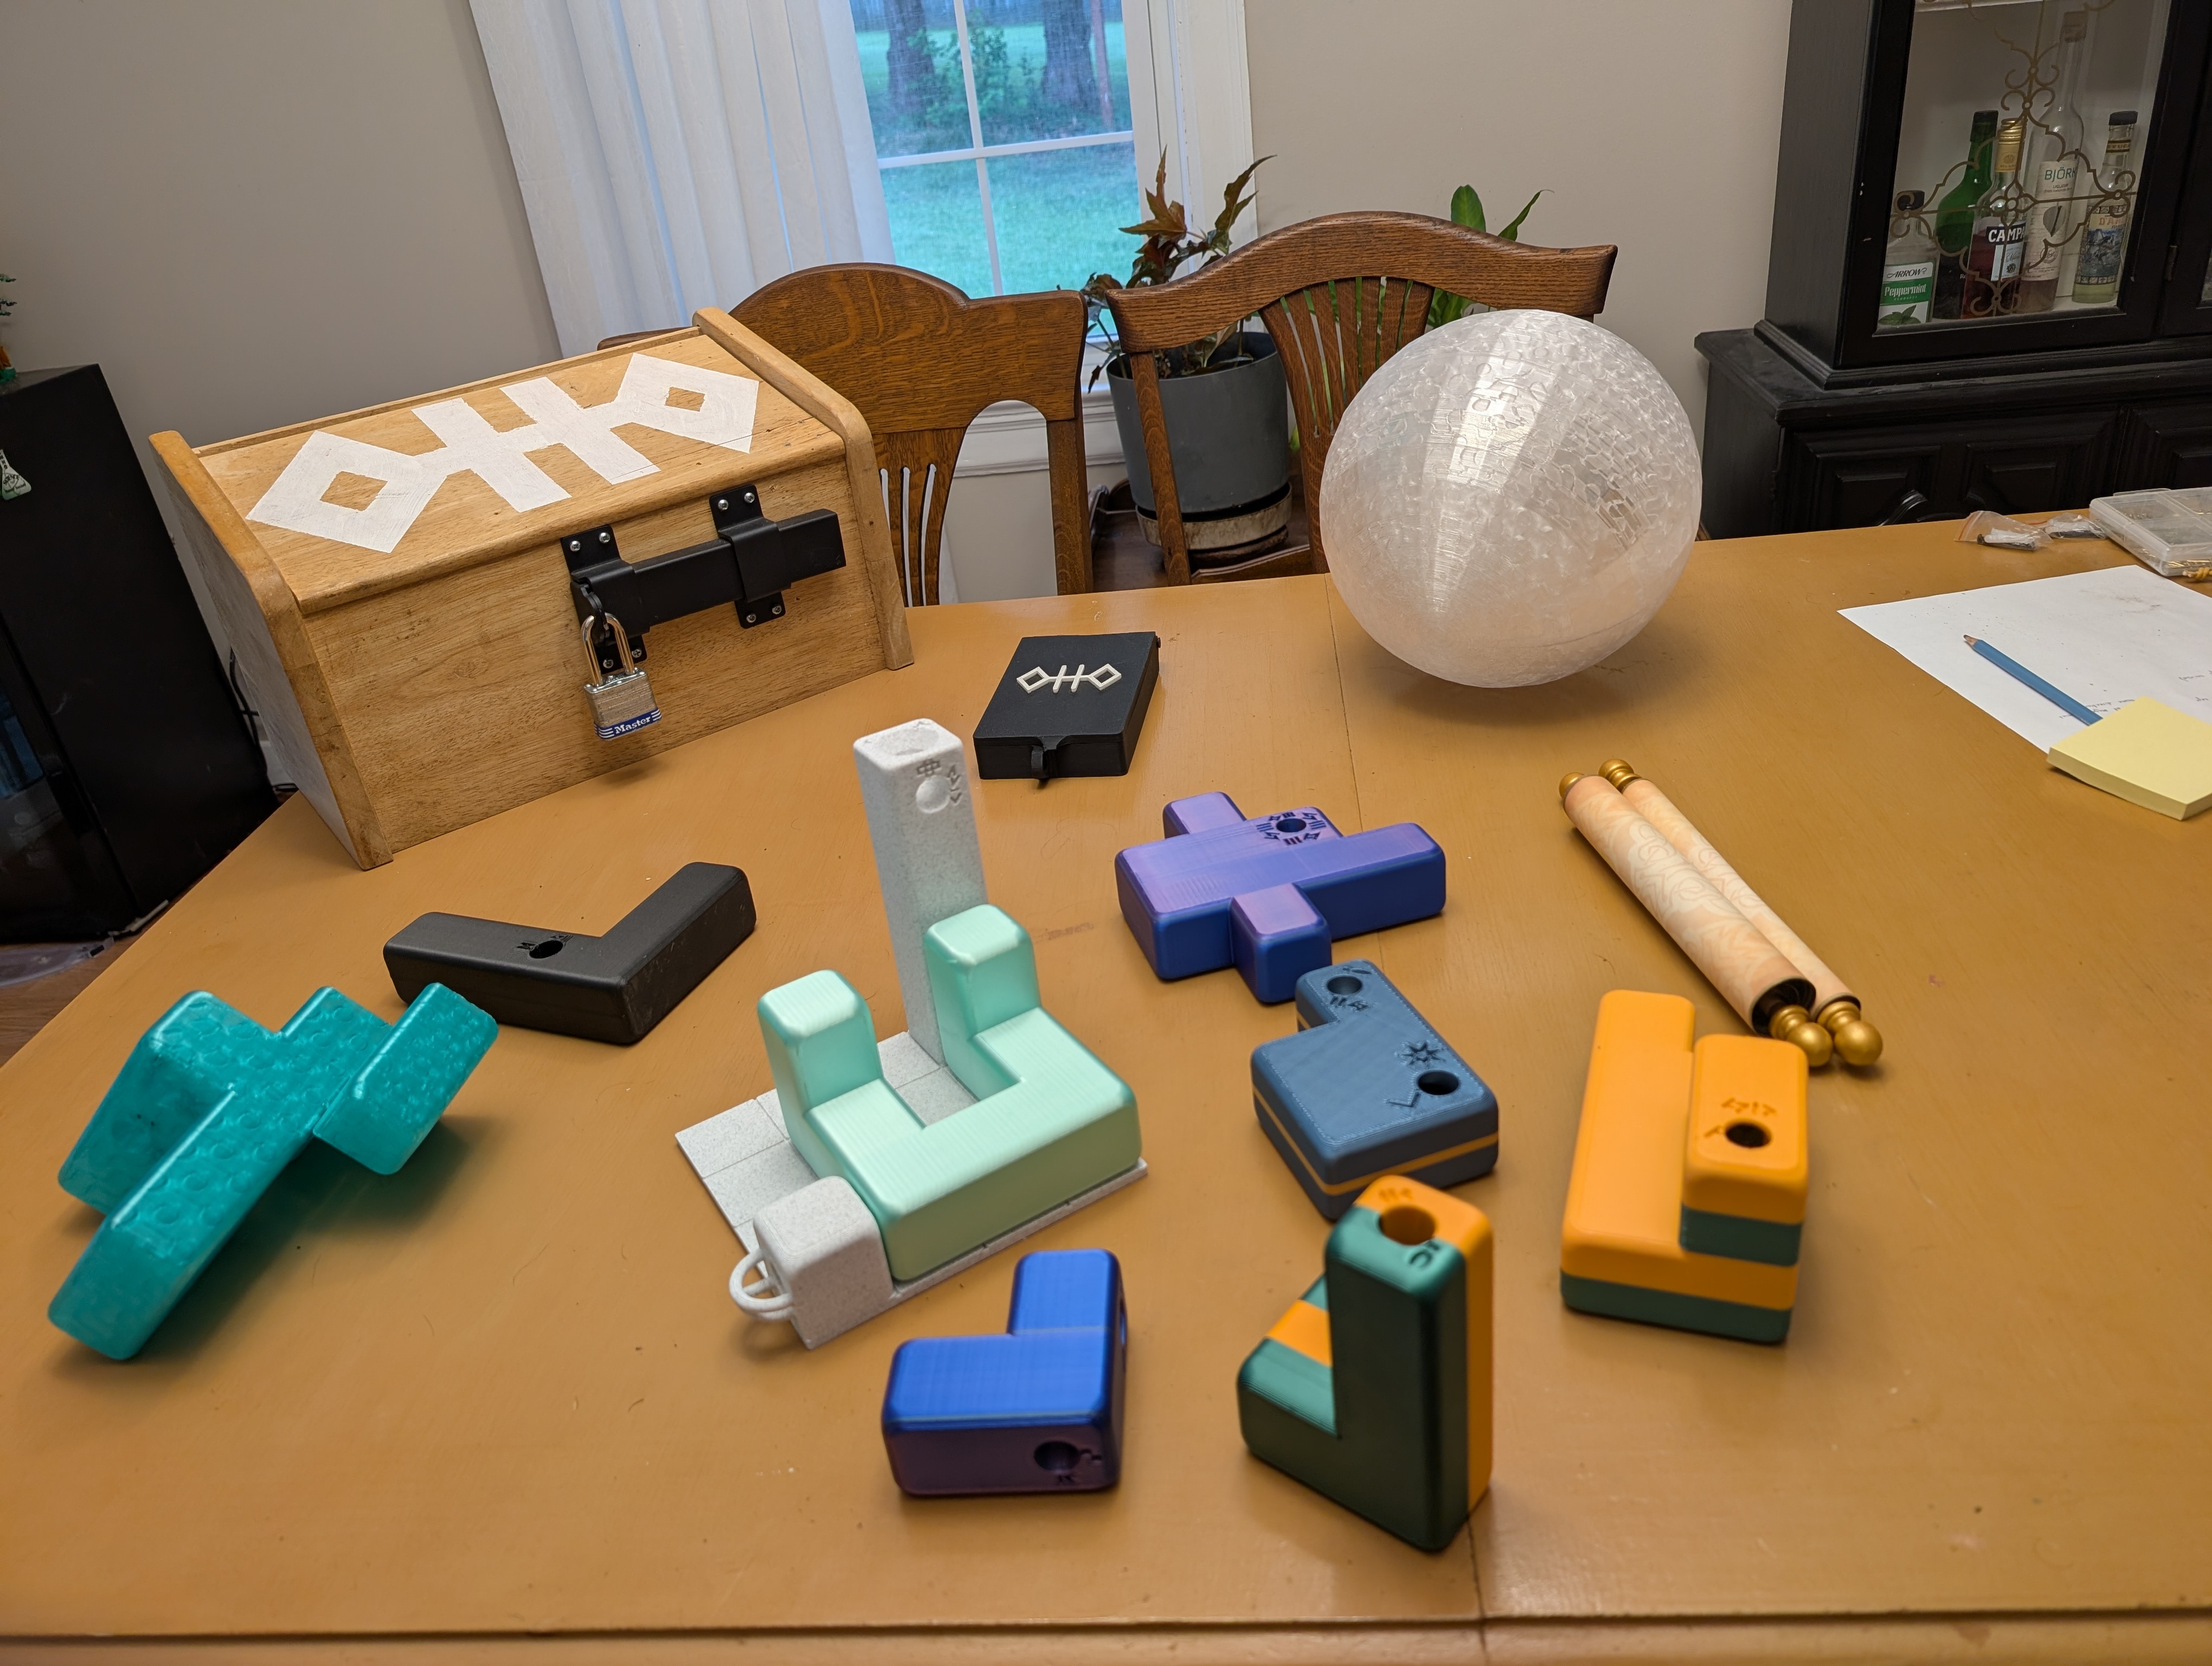
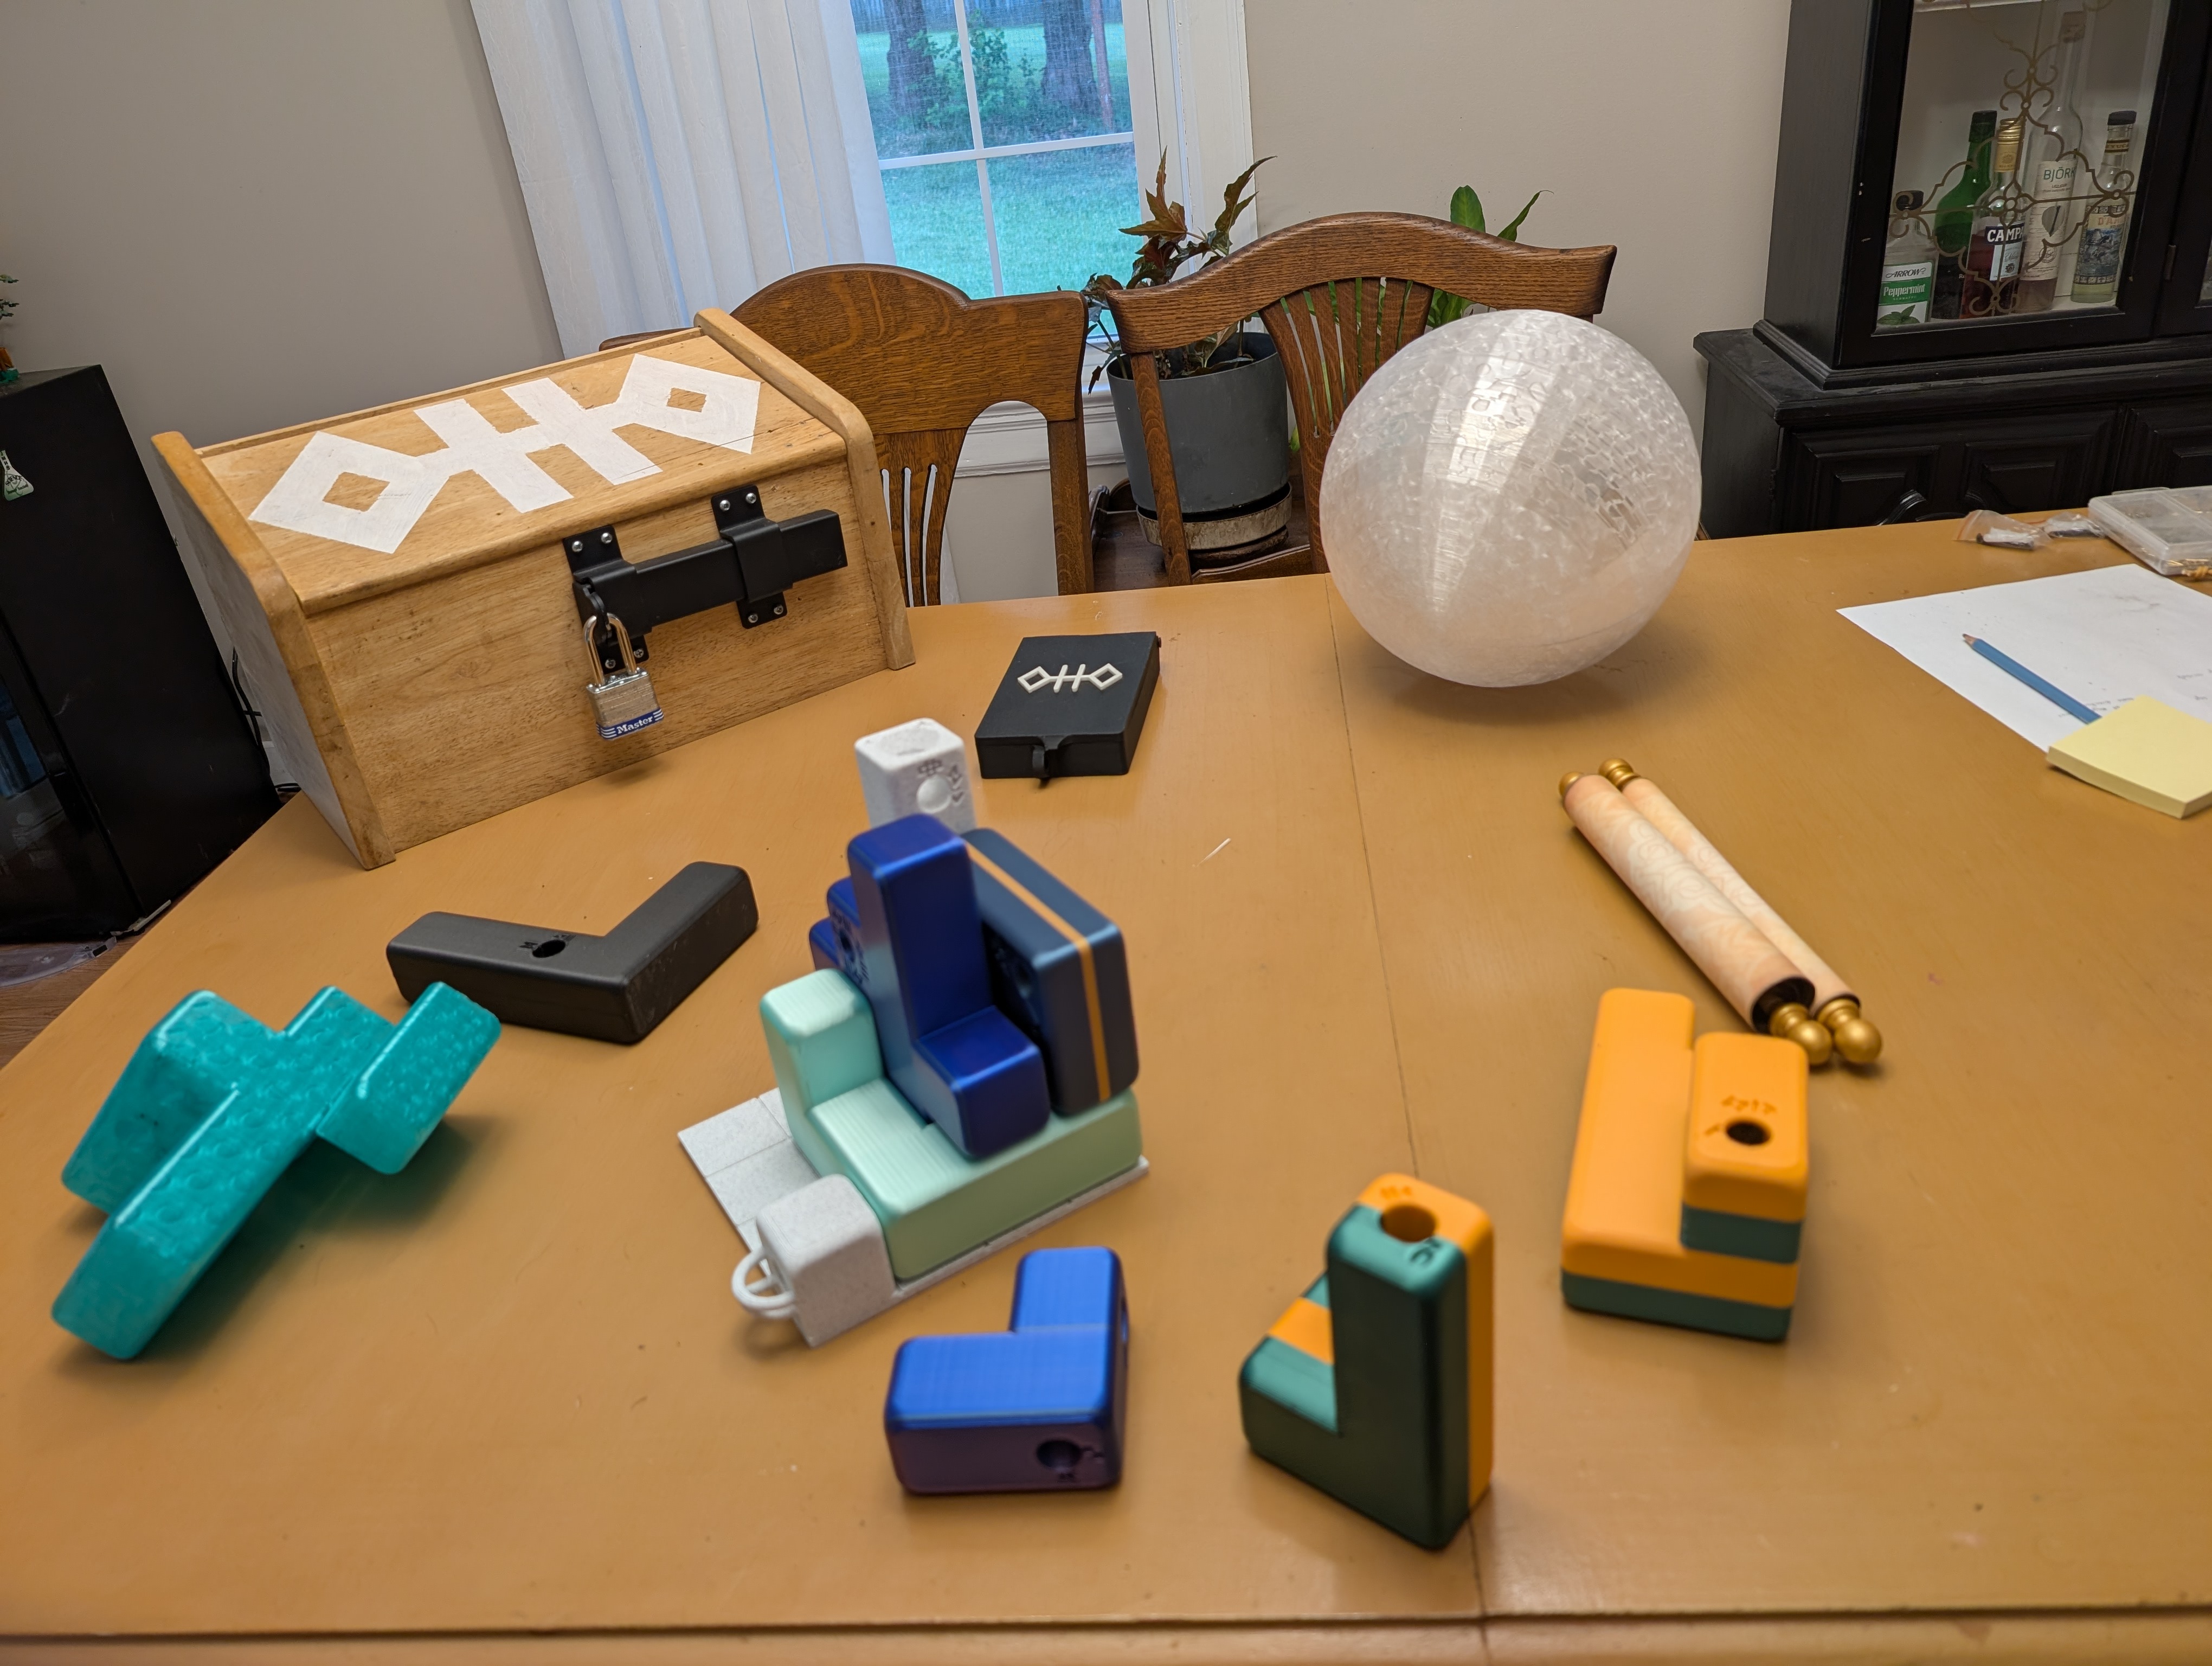
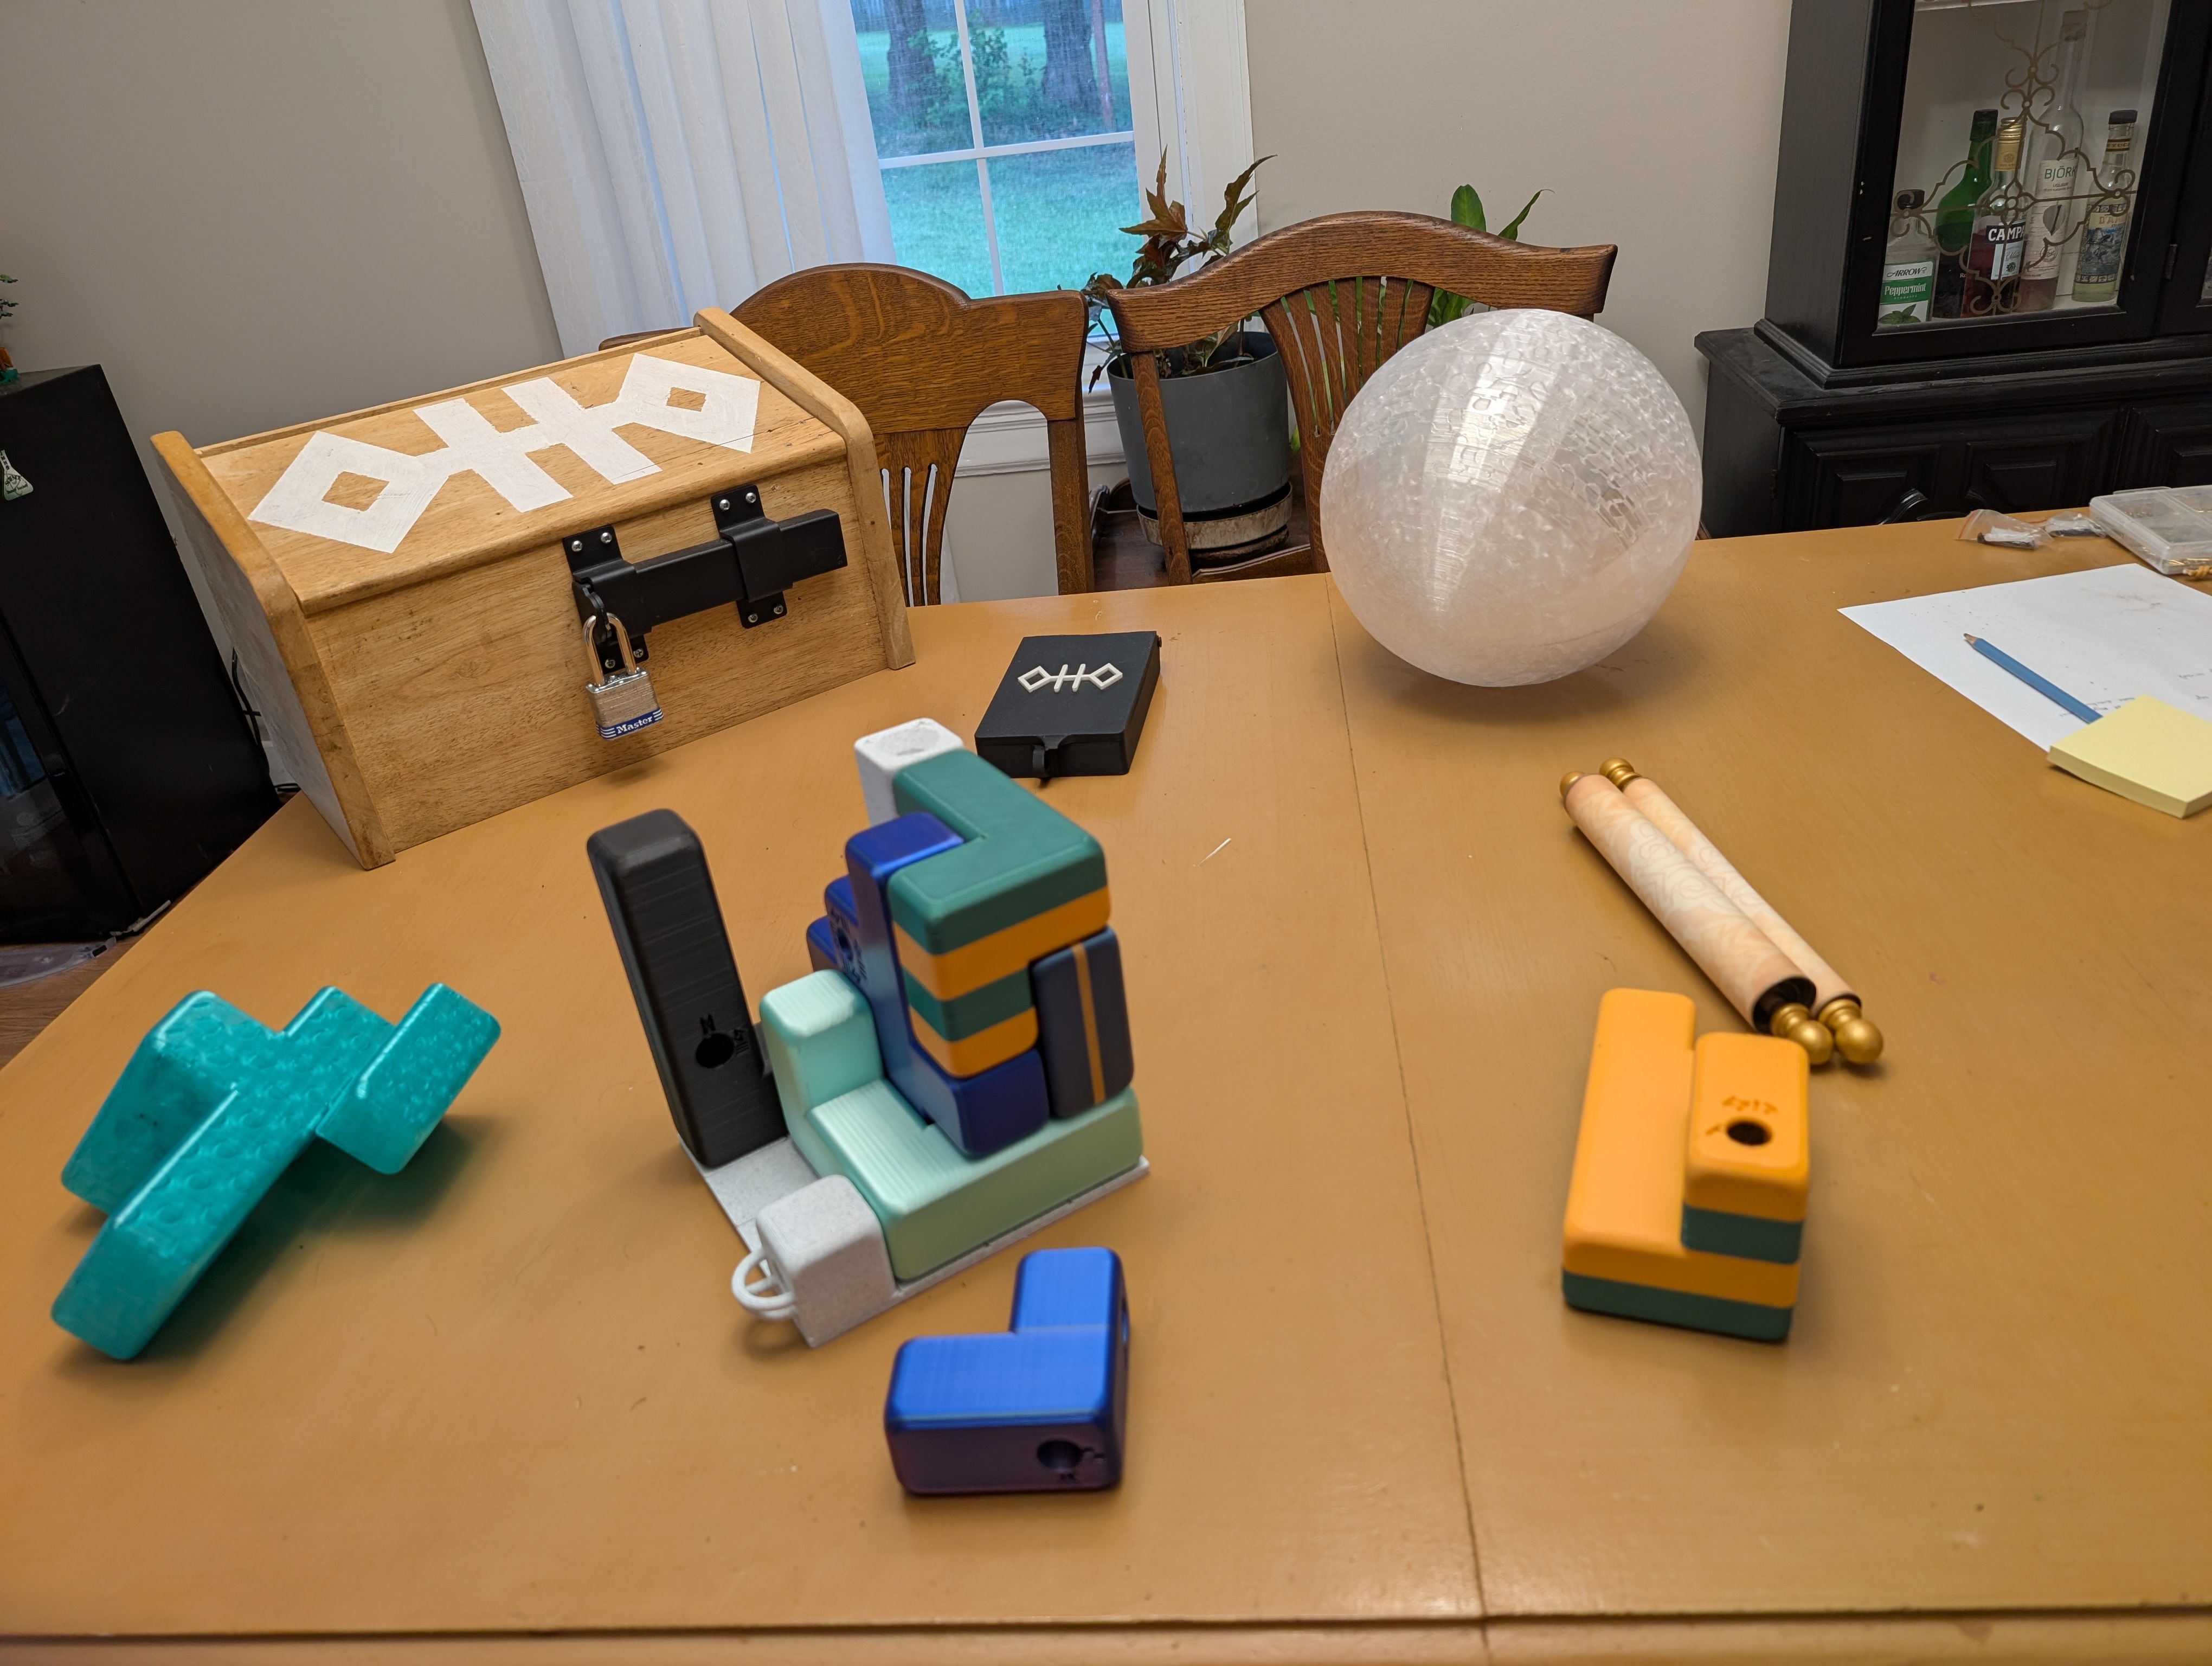
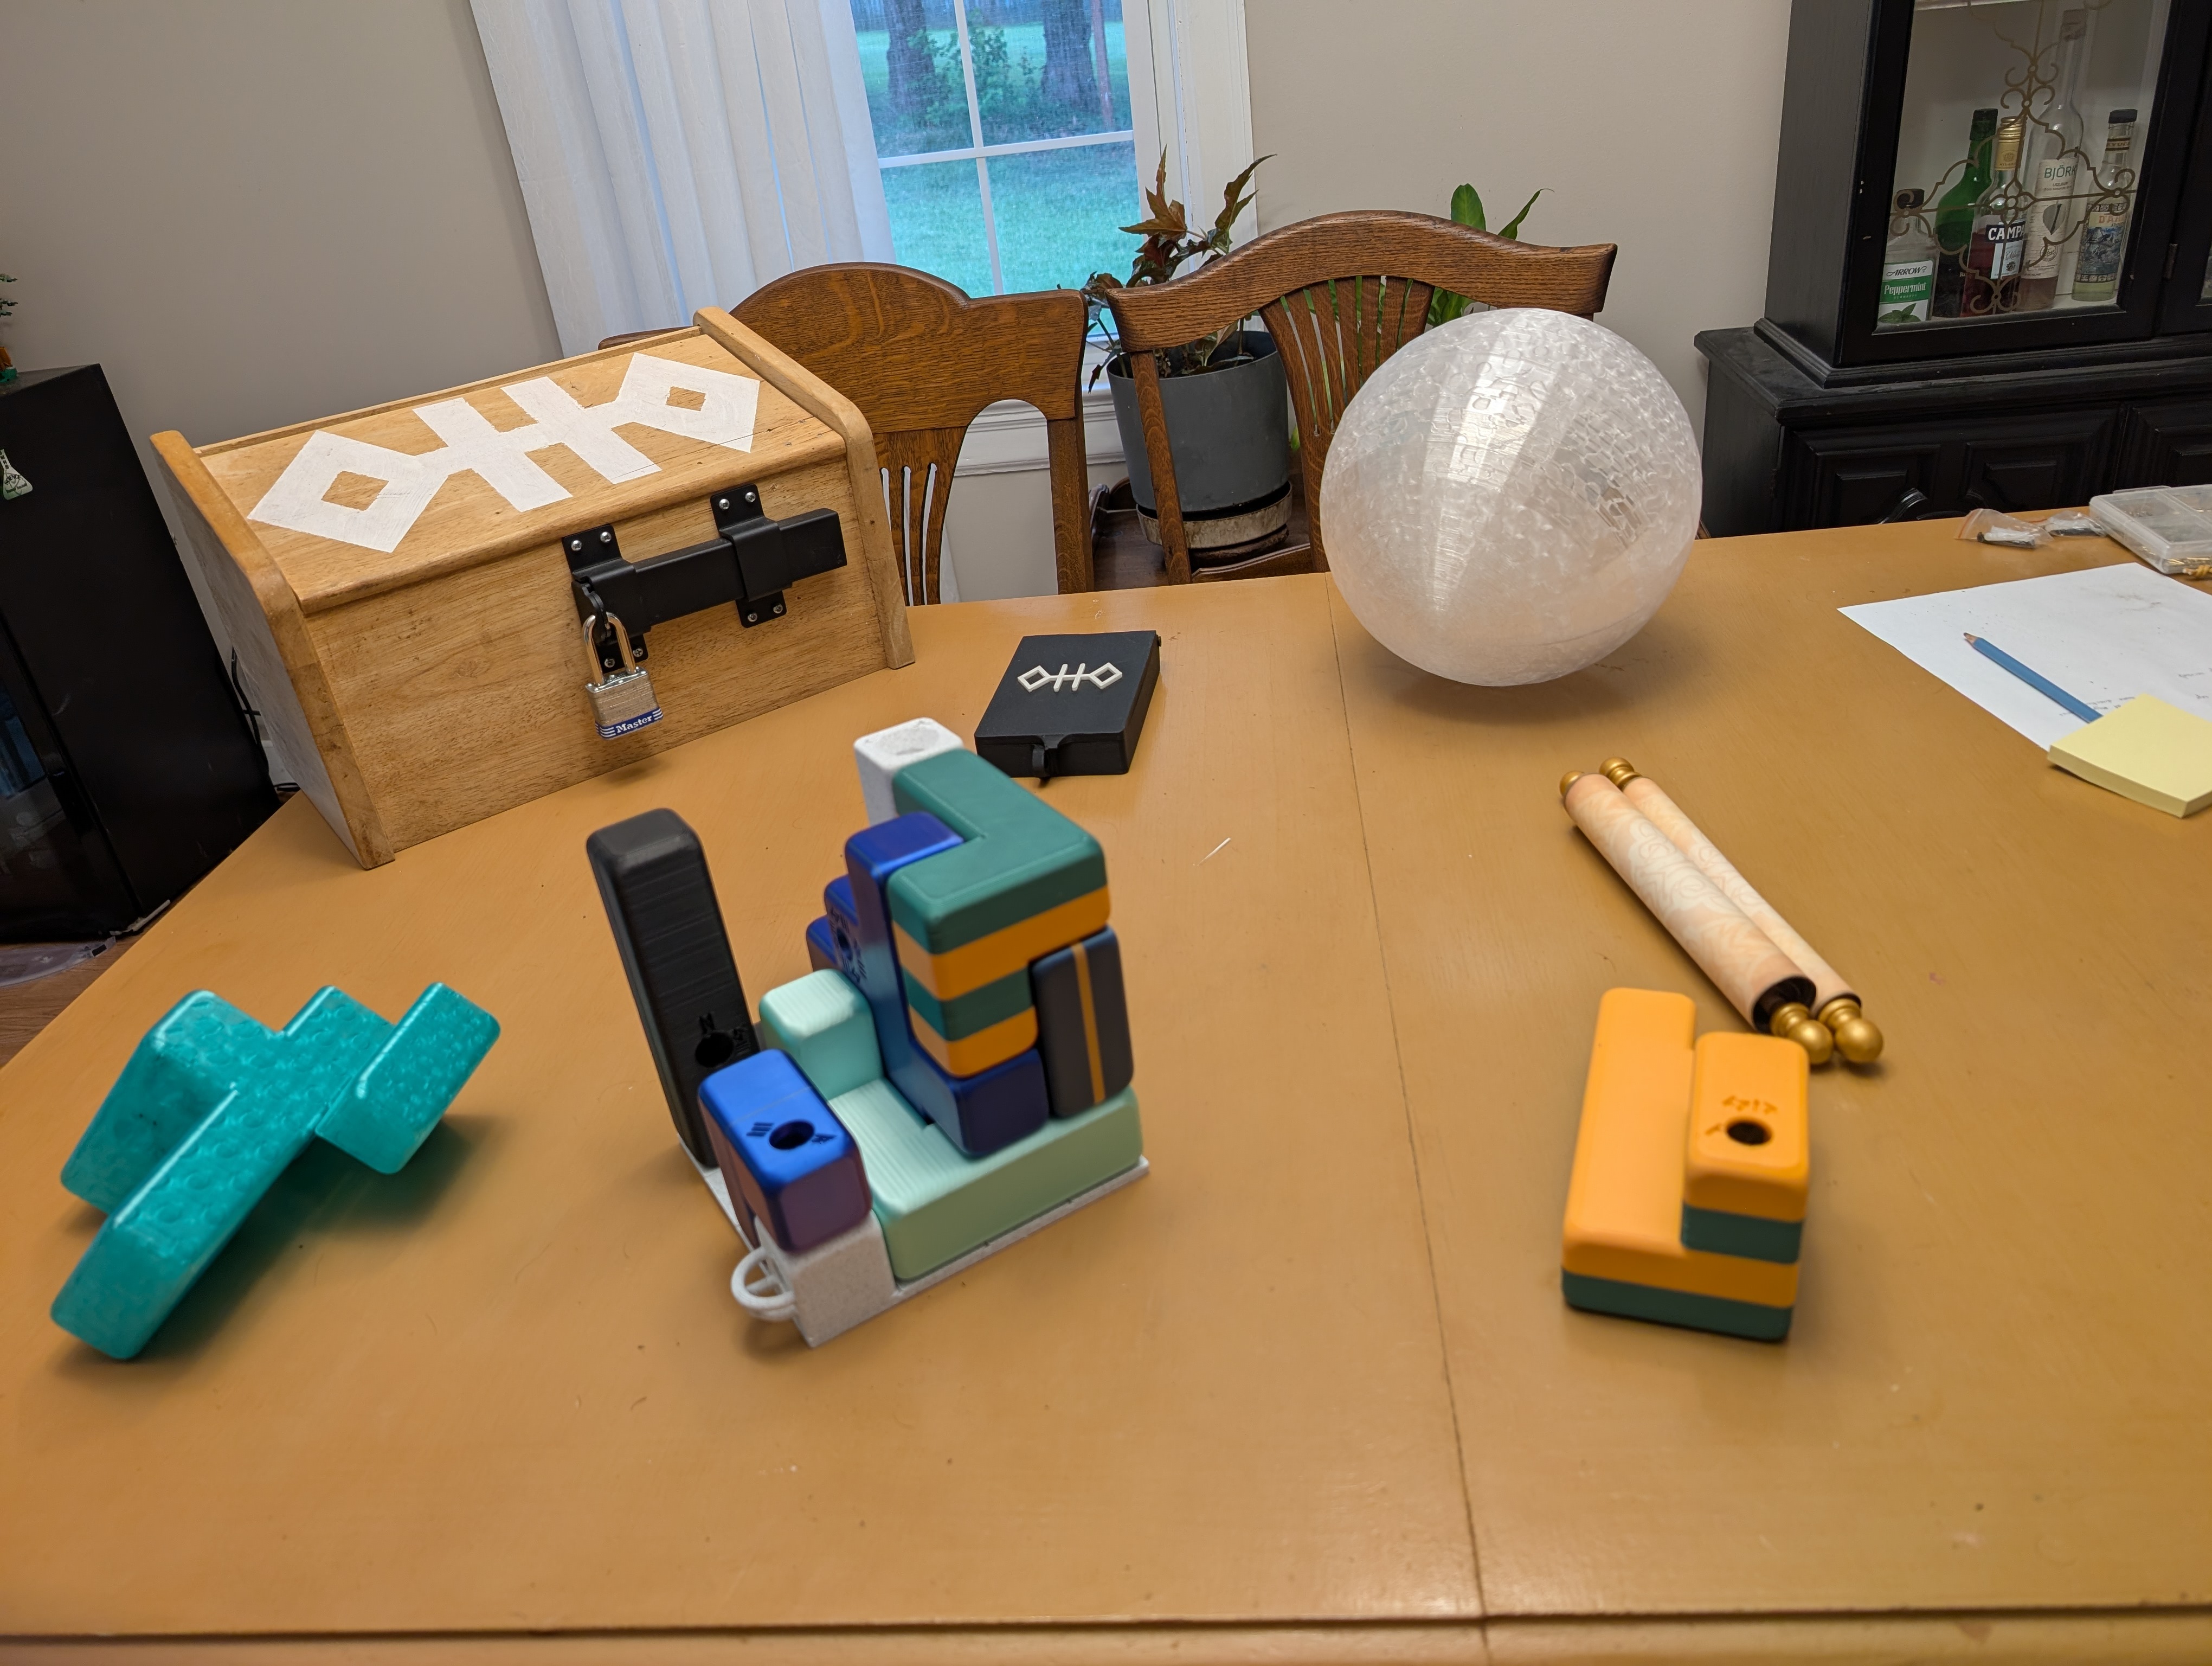
I had a few ideas on how to make it much better! Firstly the ramps sit much more flush, reducing stress when stepped on. They also have magnets hidden in them to keep them touching without introducing fragile stress points (placed inside during the printing process!!). I added corner pieces to keep the vacuum from hitting sharp edges. Here are some drafts I printed to get the contour just right: 
My favorite little touch was dipping a few pieces in very hot water before pressing them in place, to have them mold a little better to asymmetries in the flooring! 
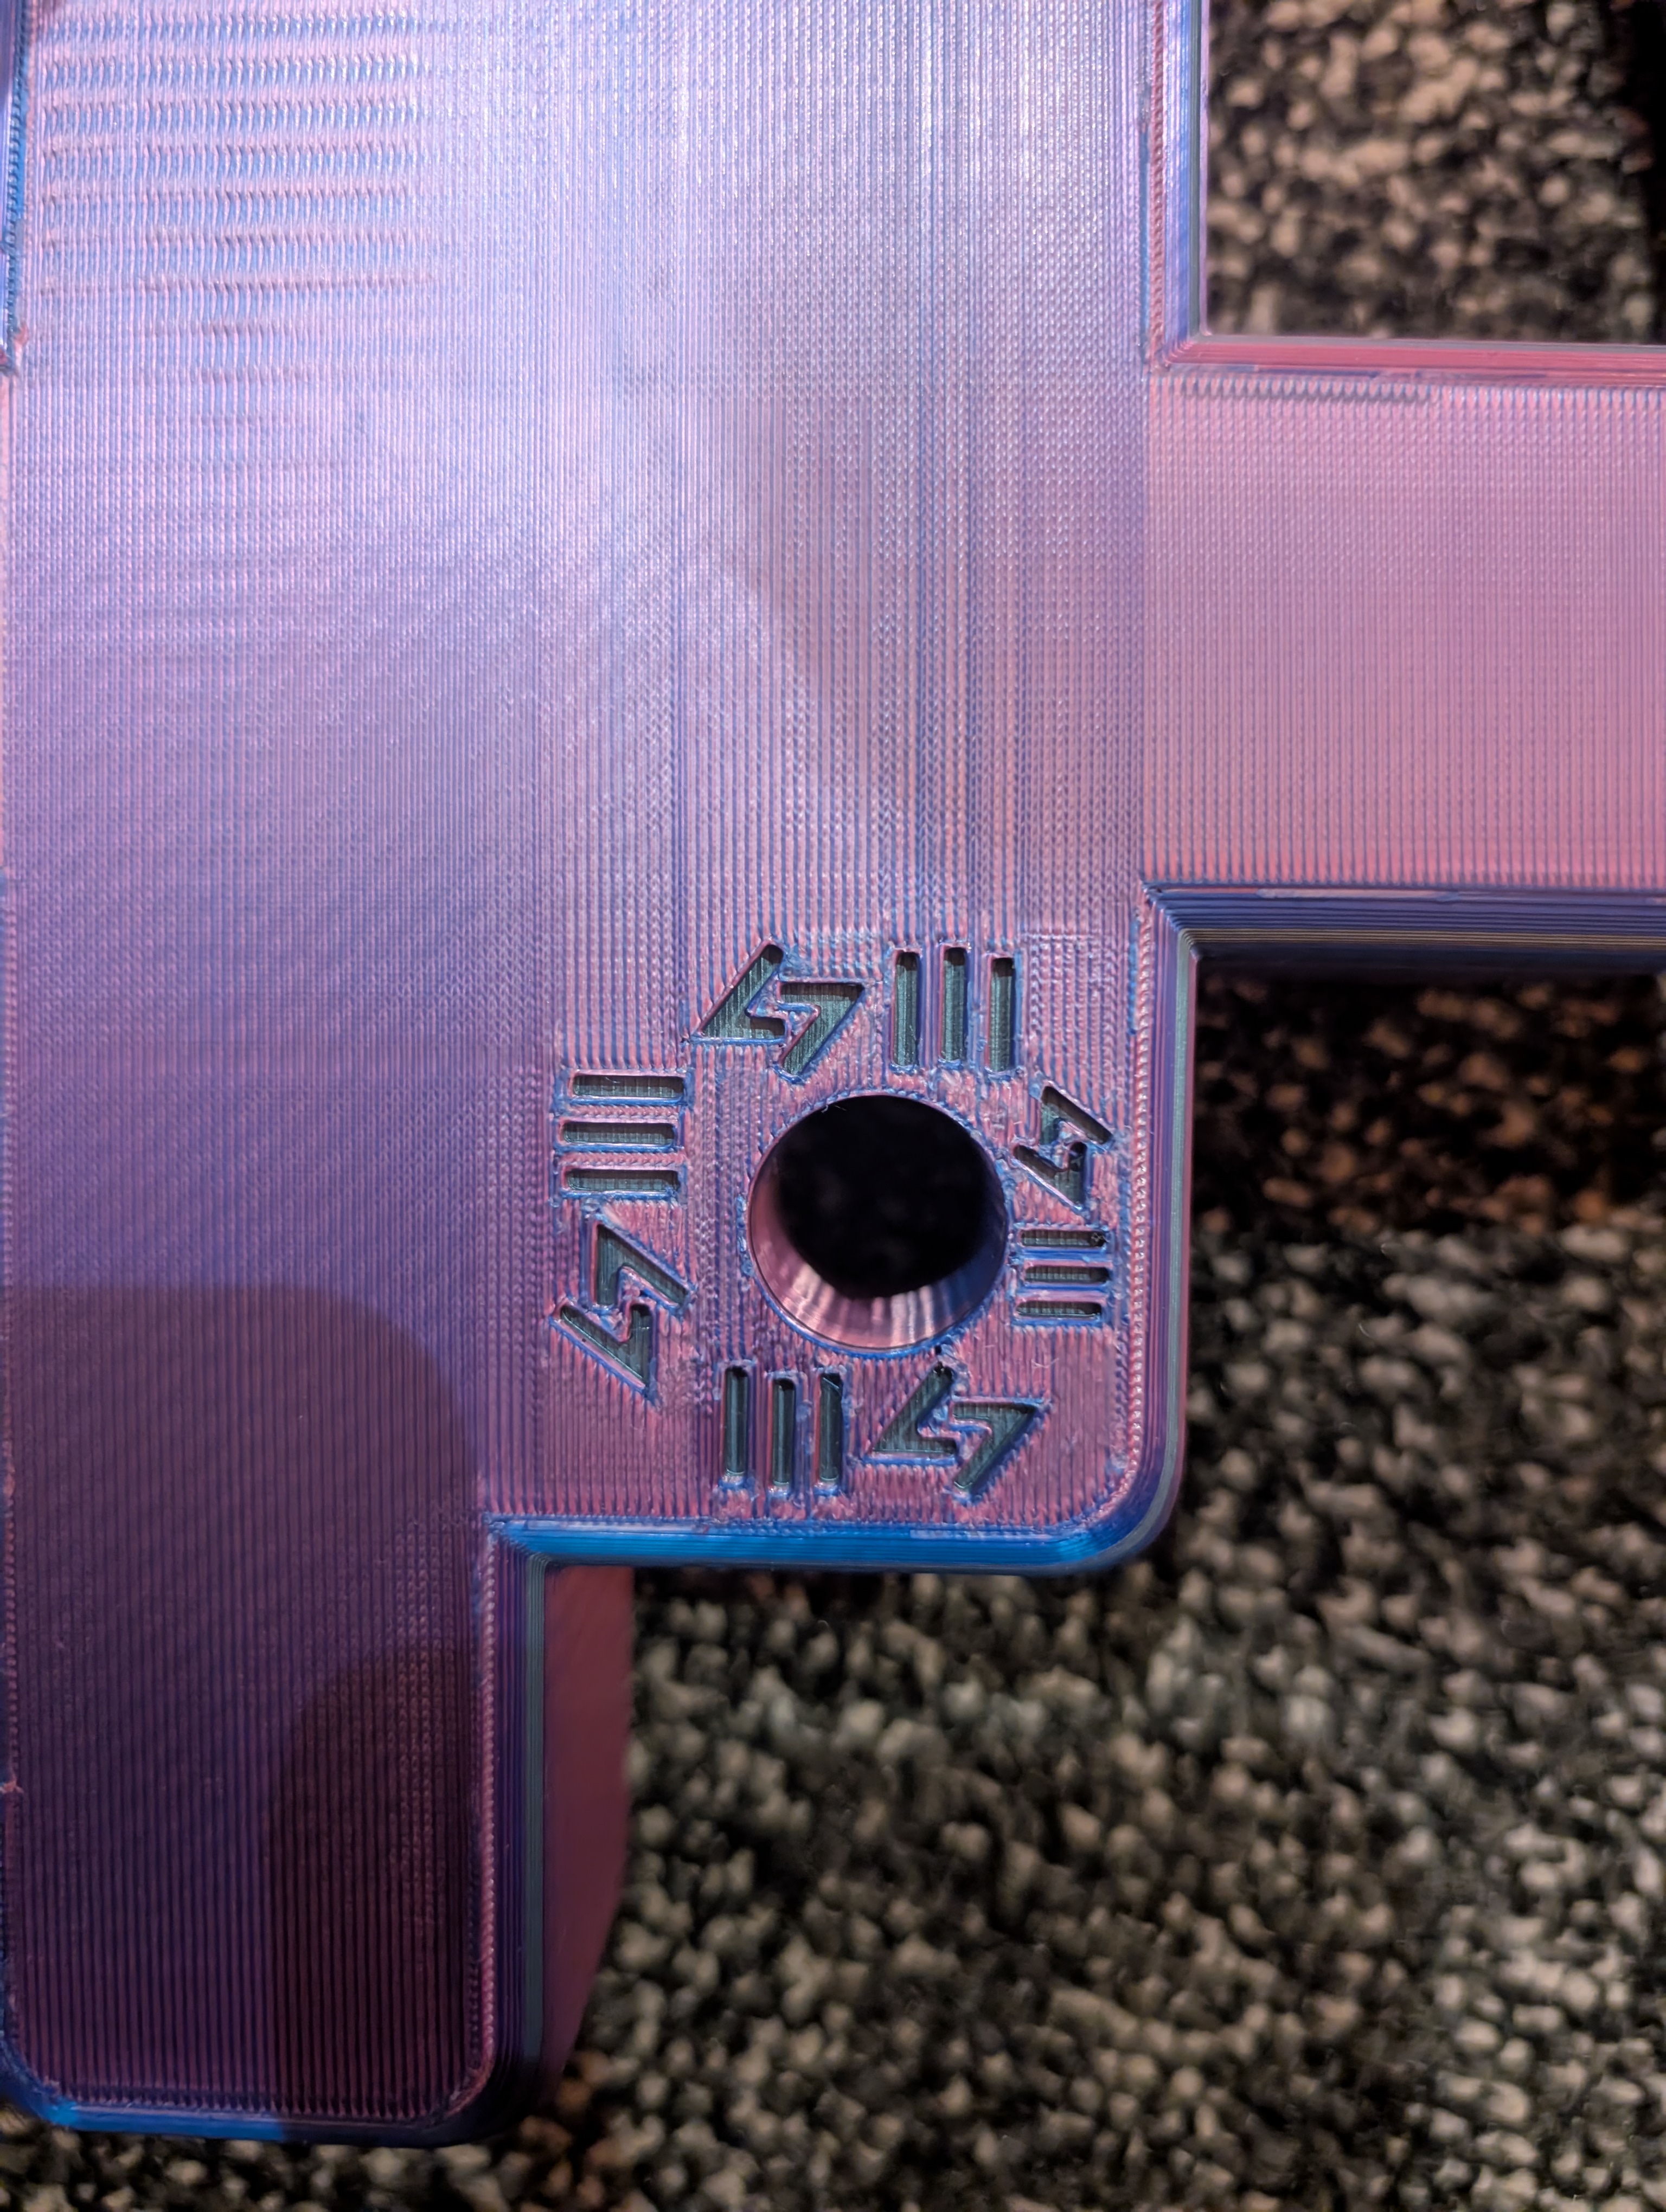
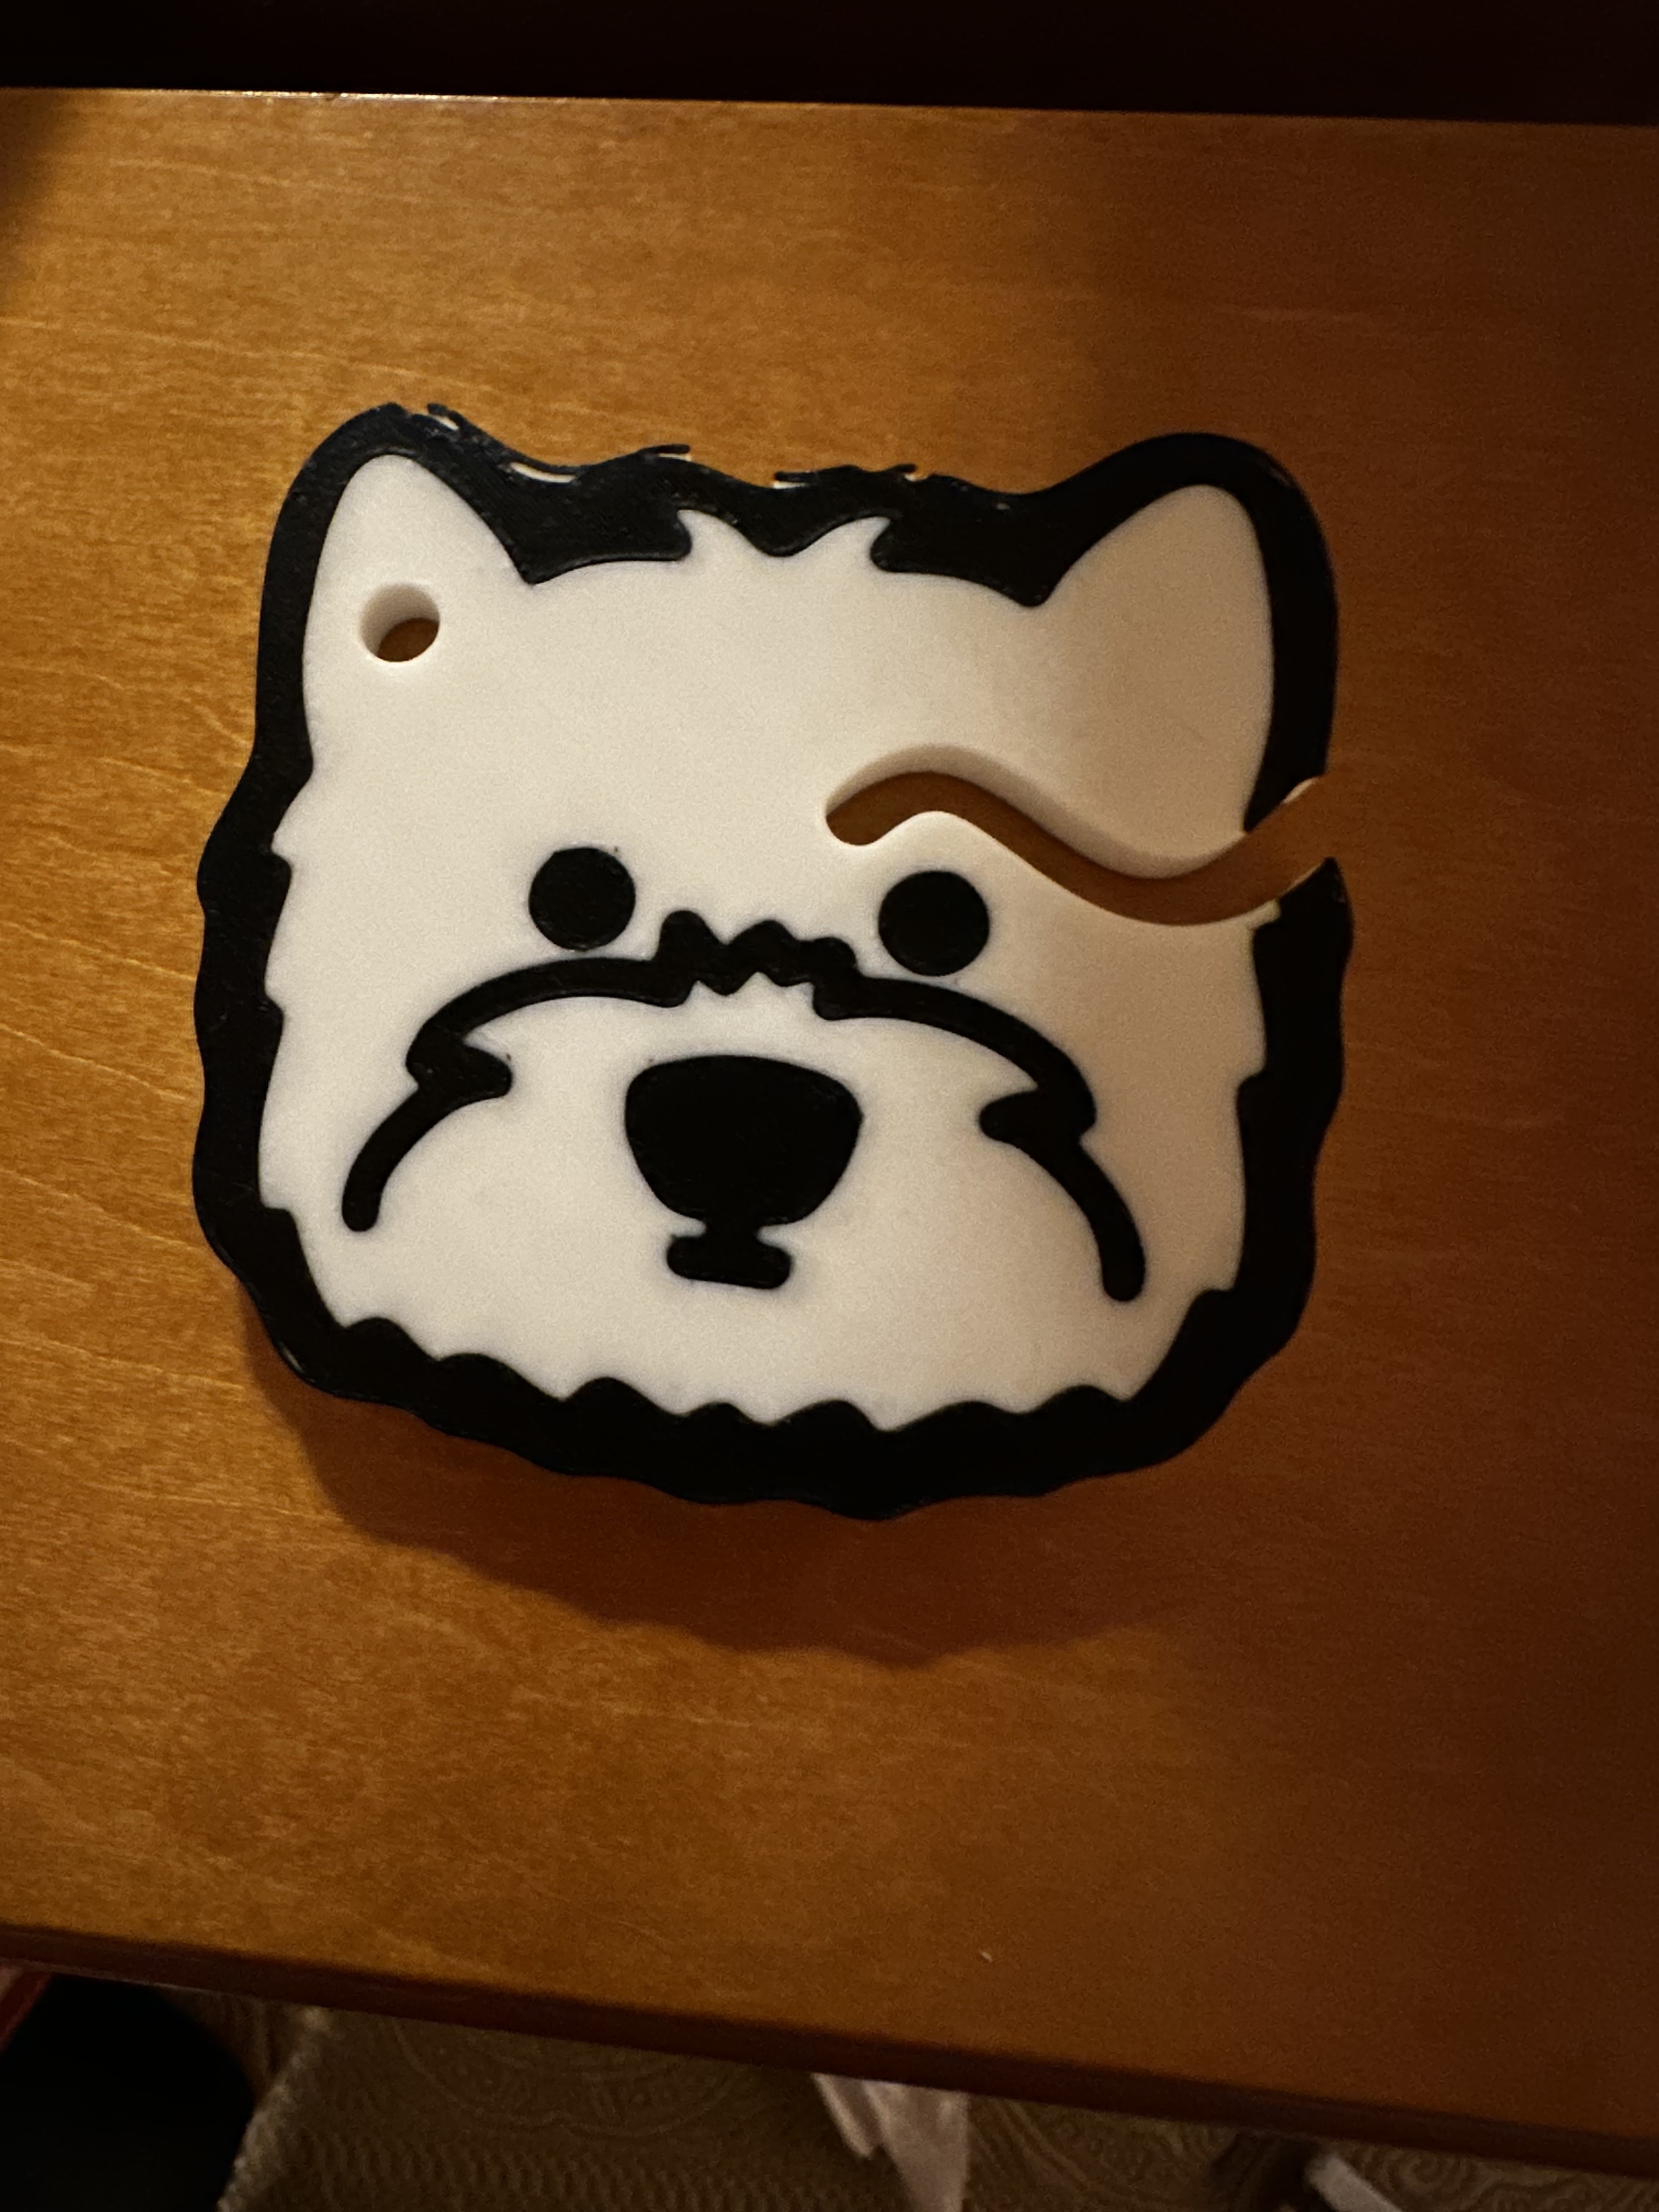
I couldn't resist putting in a little pattern. Now the pieces can be arranged to form different designs! 


 Designed and installed three different types of brackets to make the shelf sturdy.


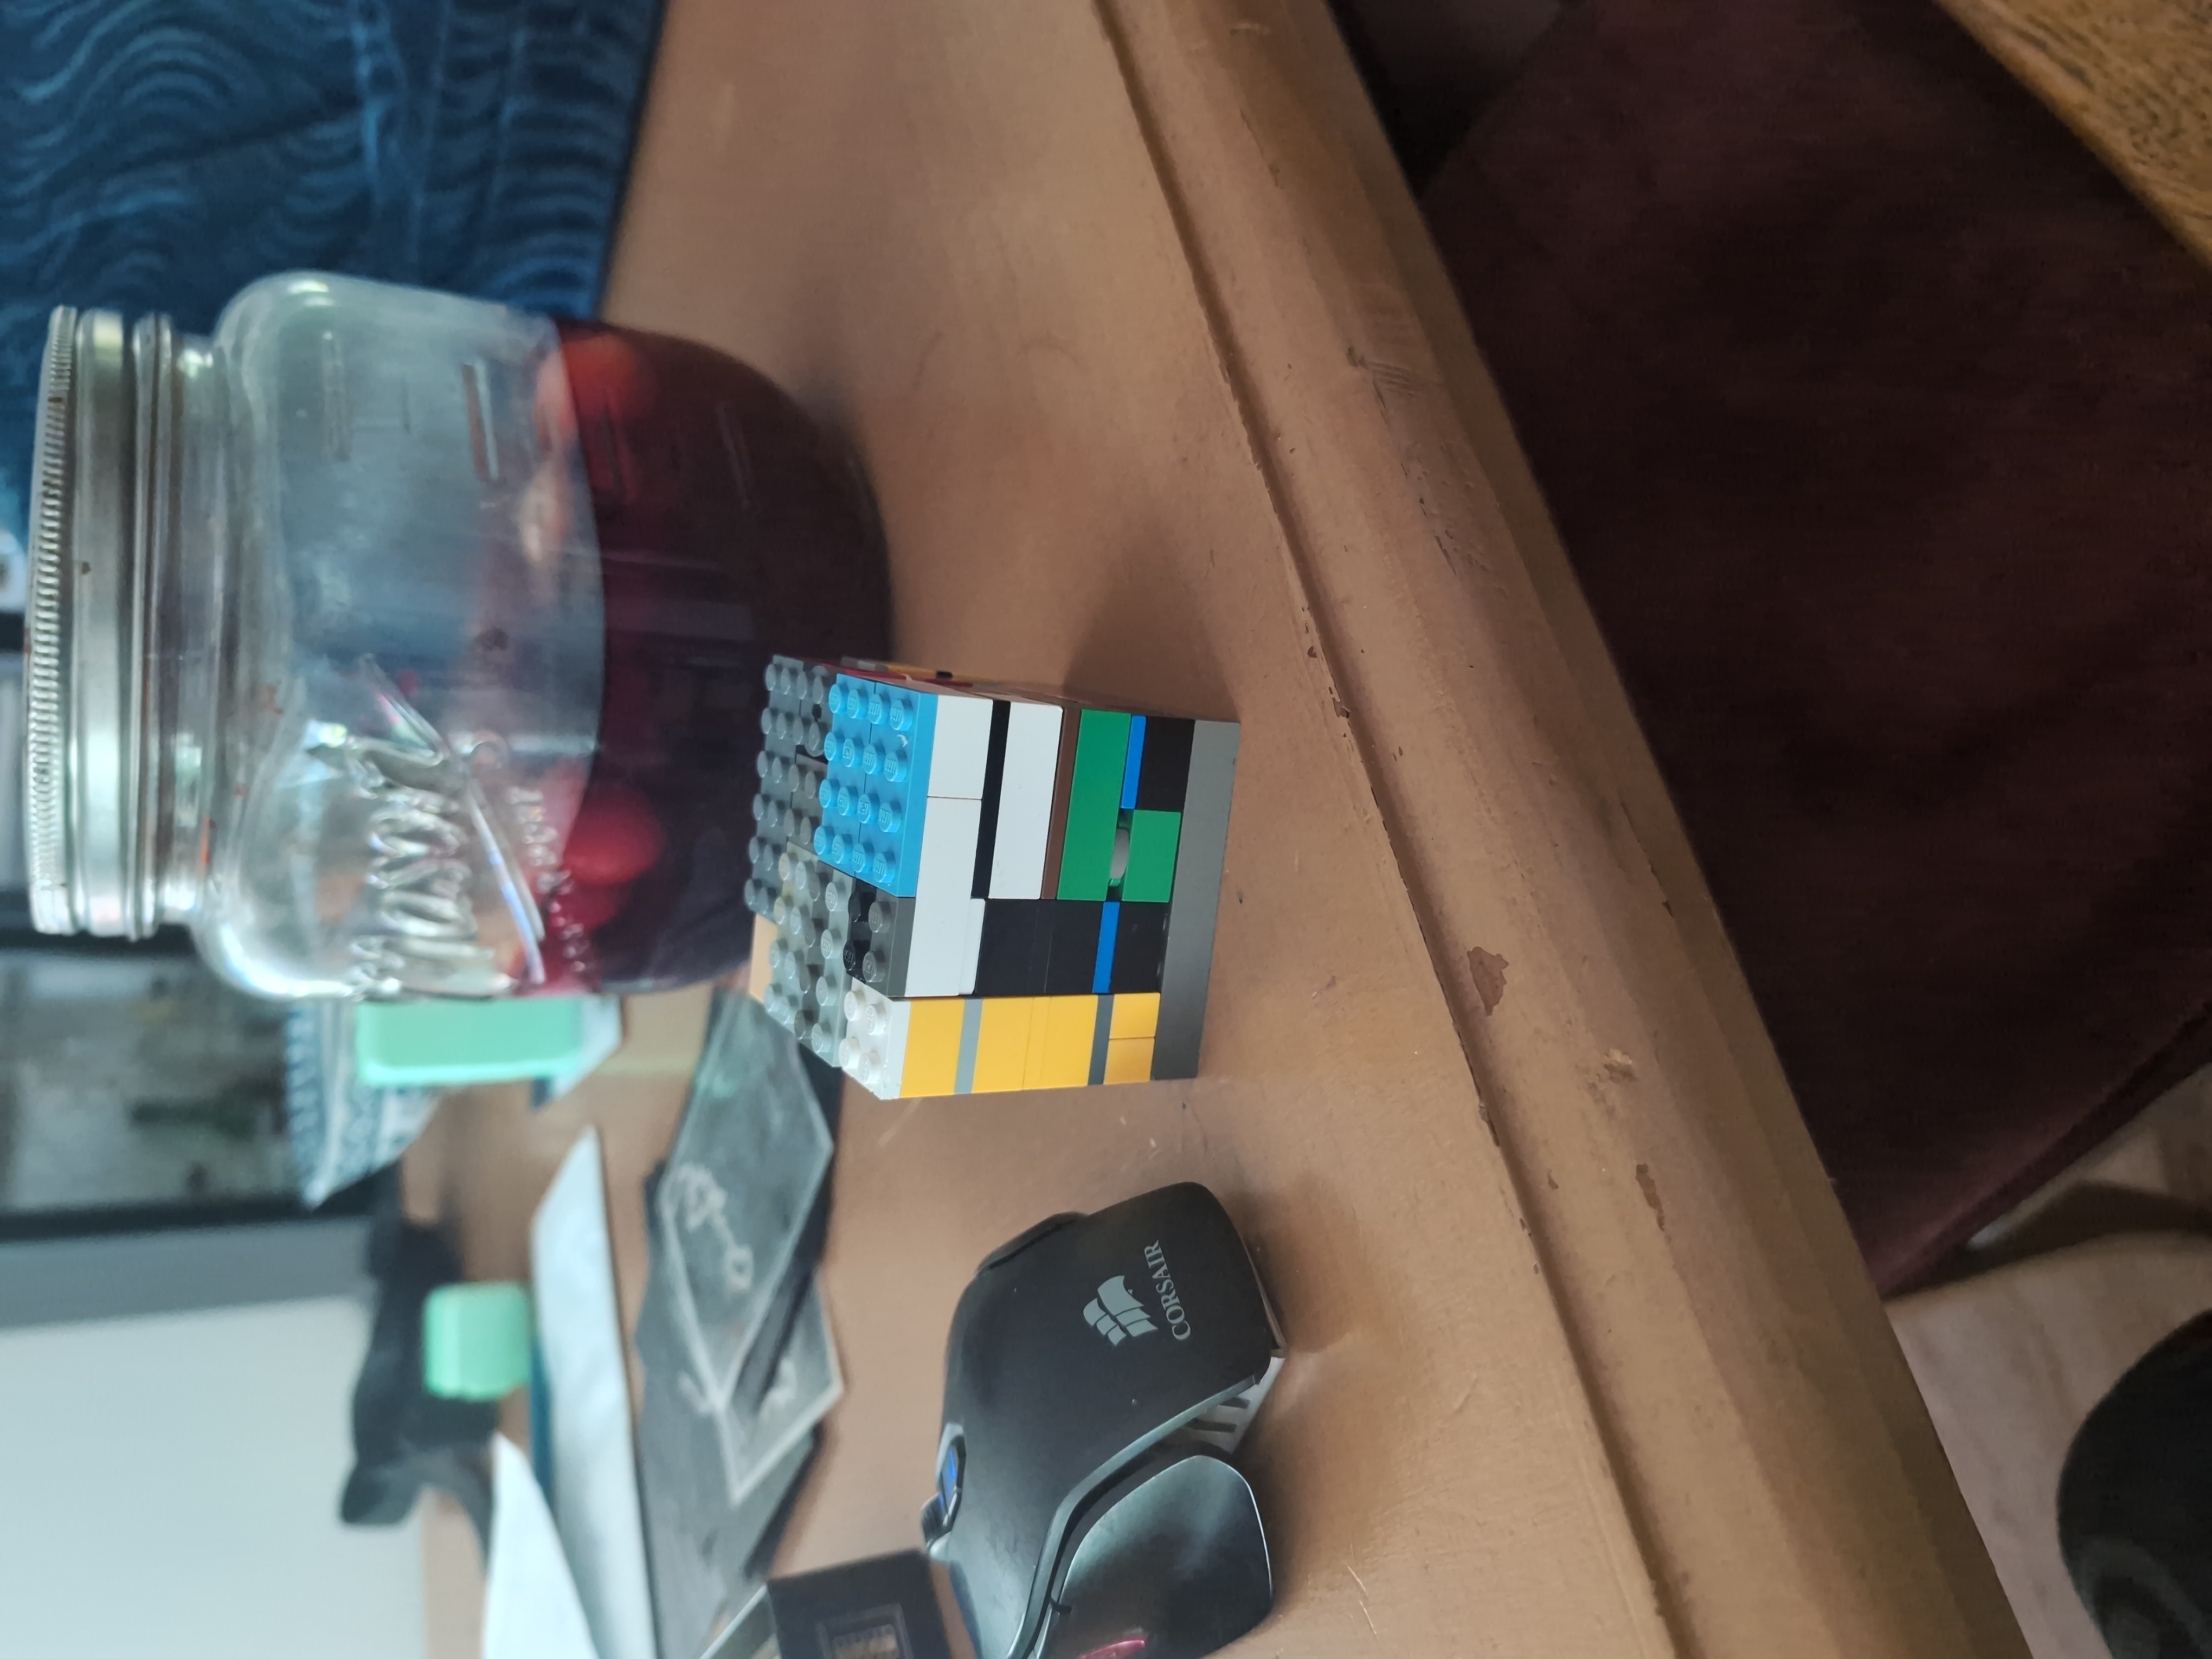
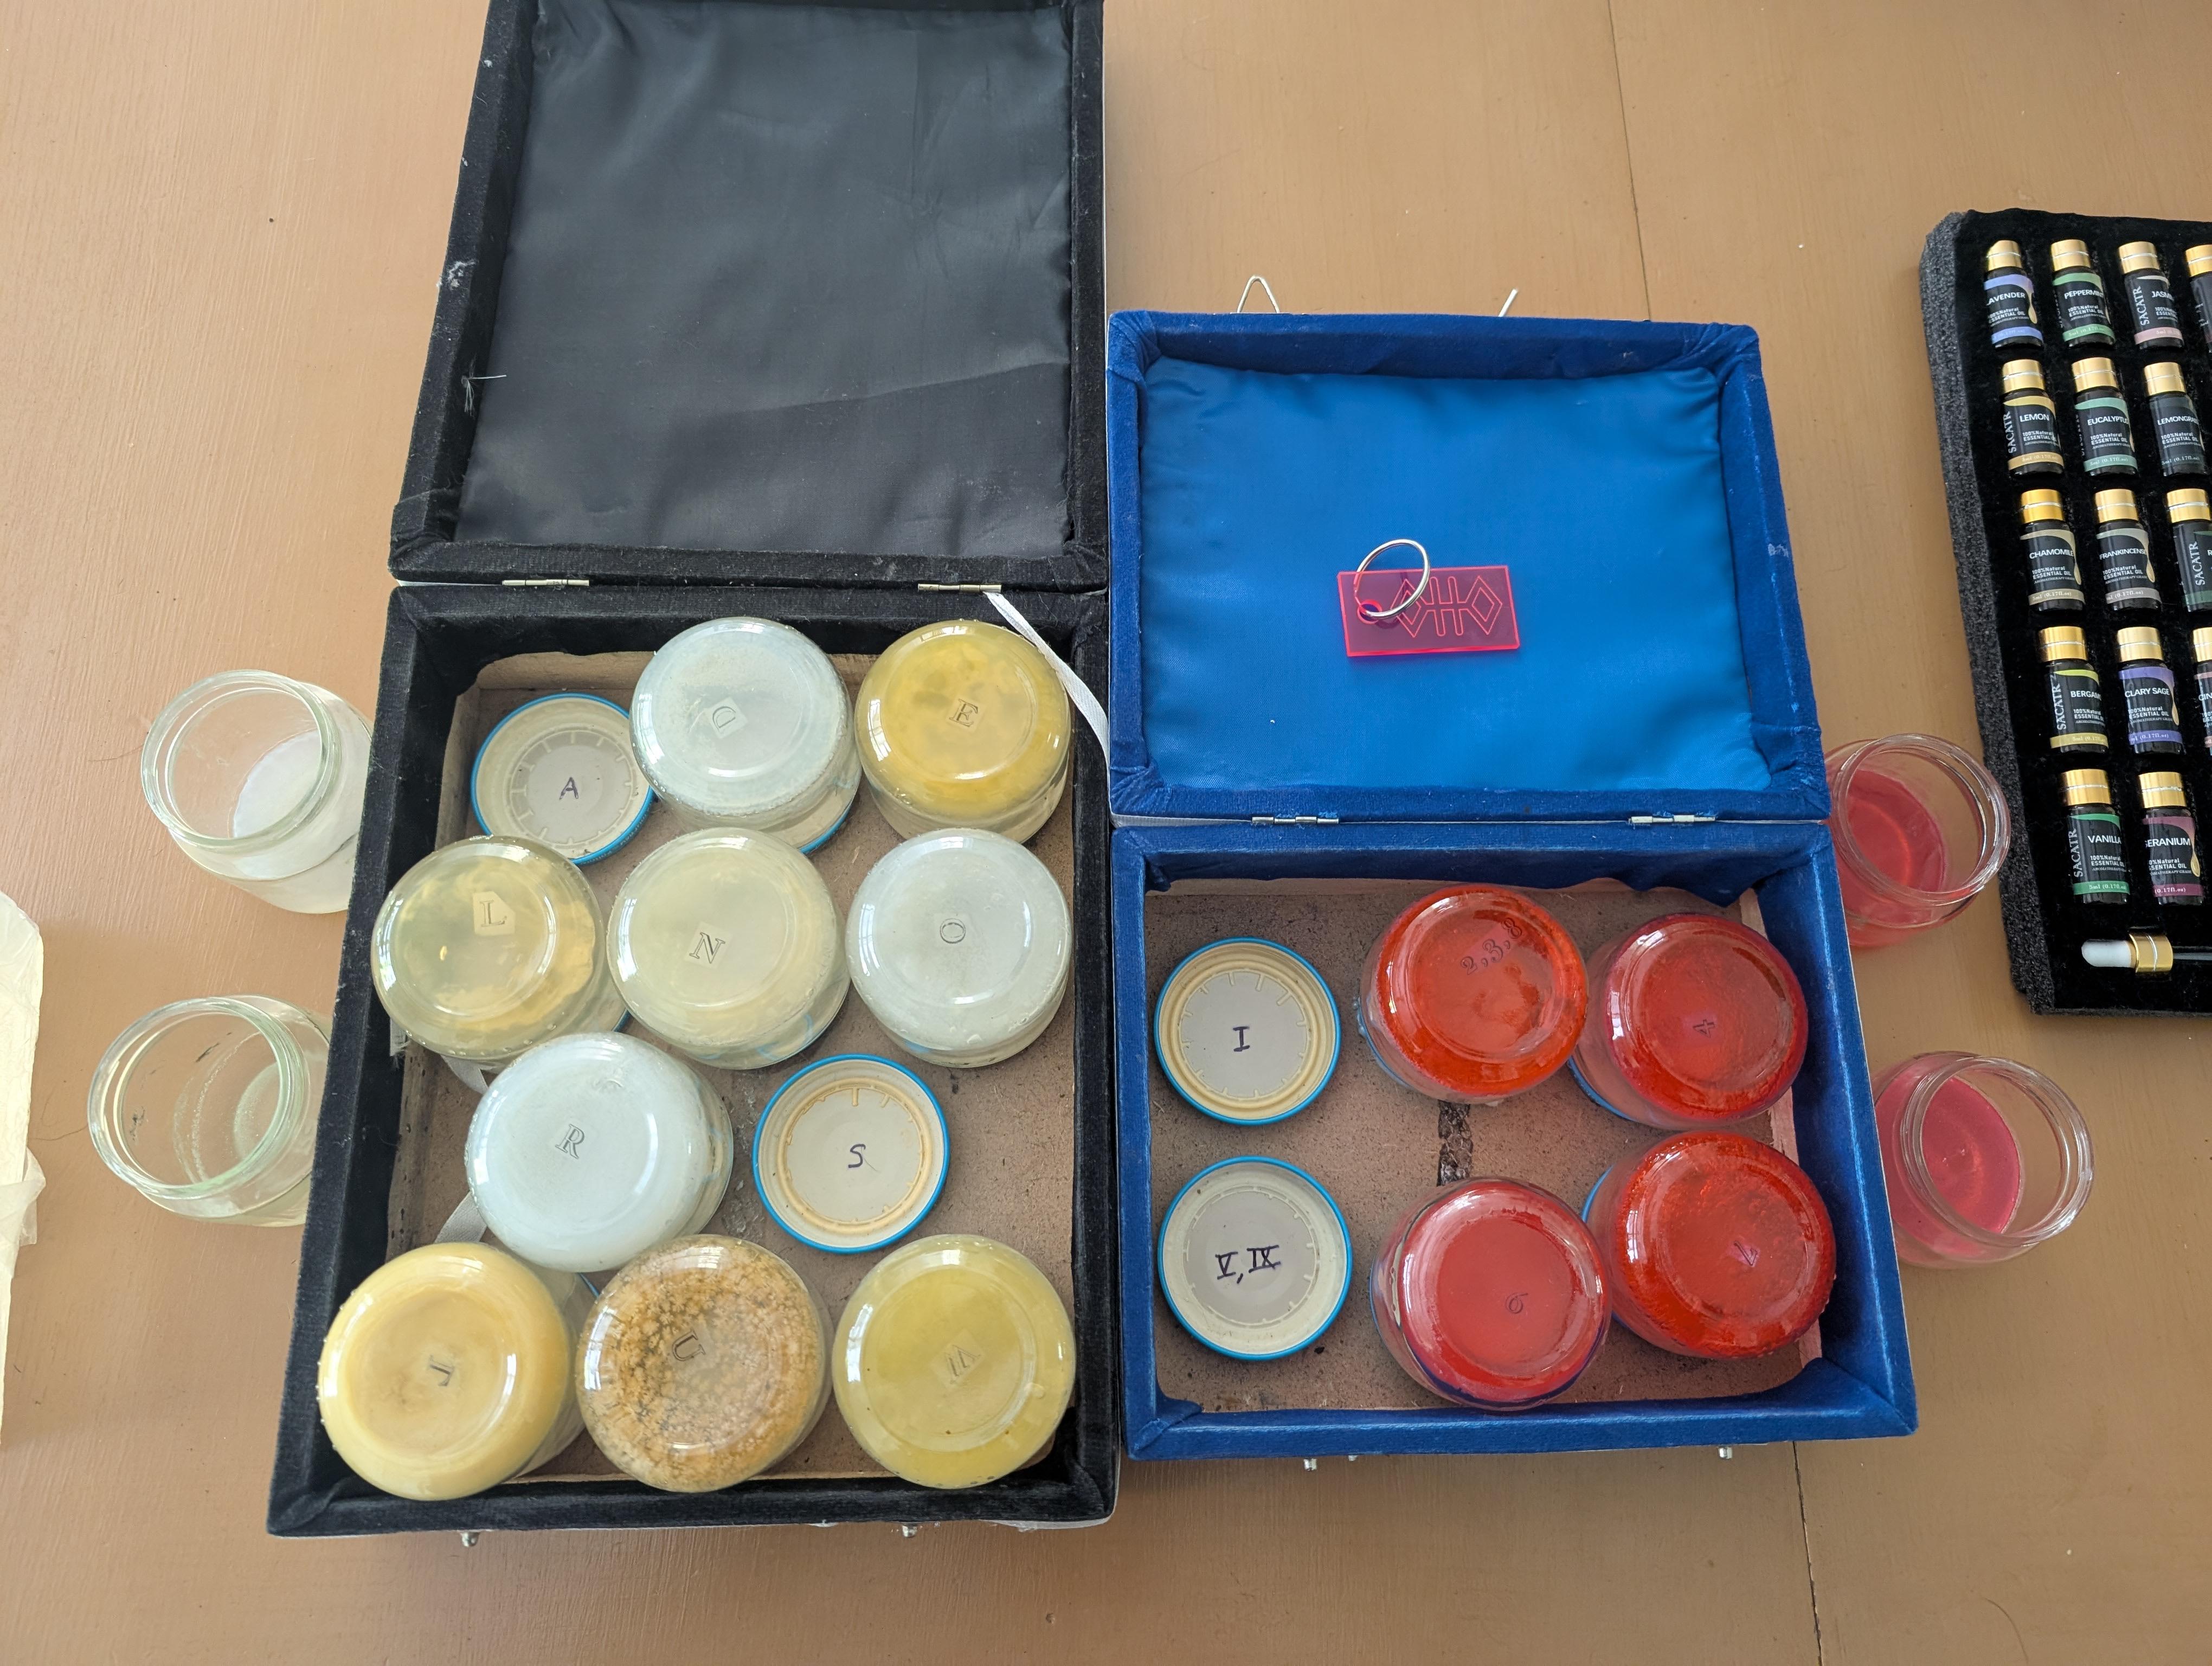
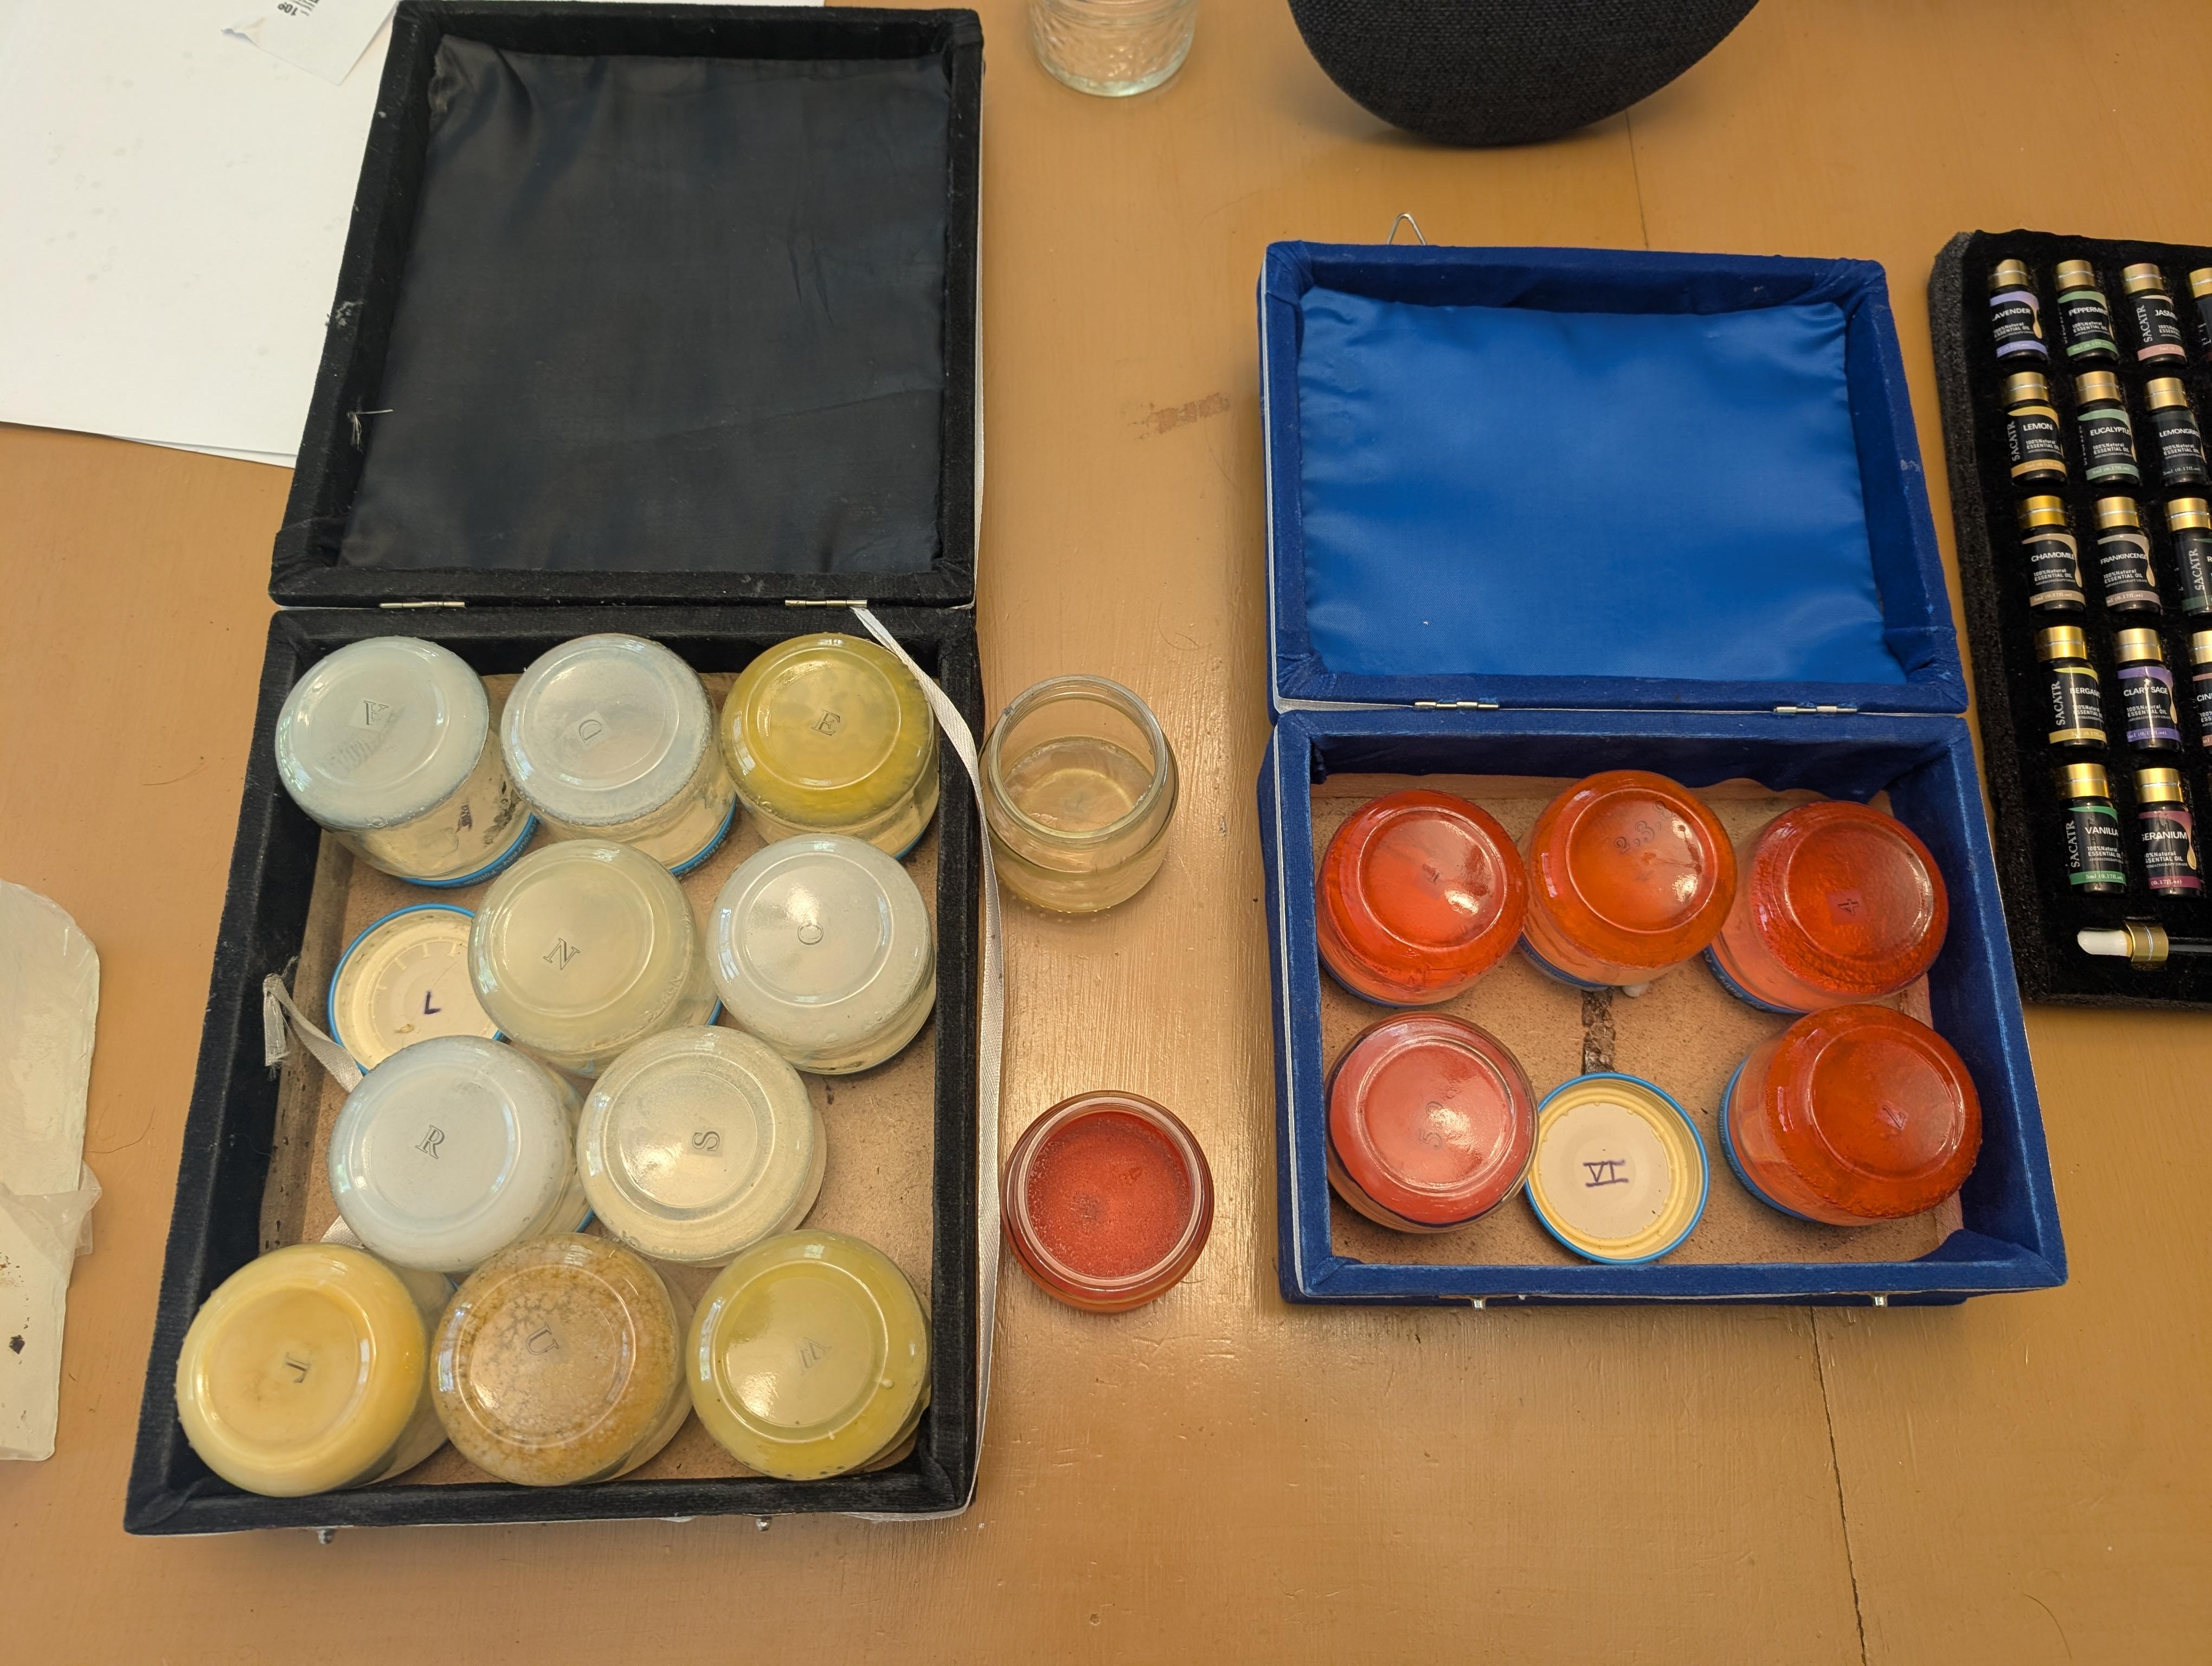
 Plopped them in a jar of water colored red for the solvers to have to reach in and get for an added layer of disgust!
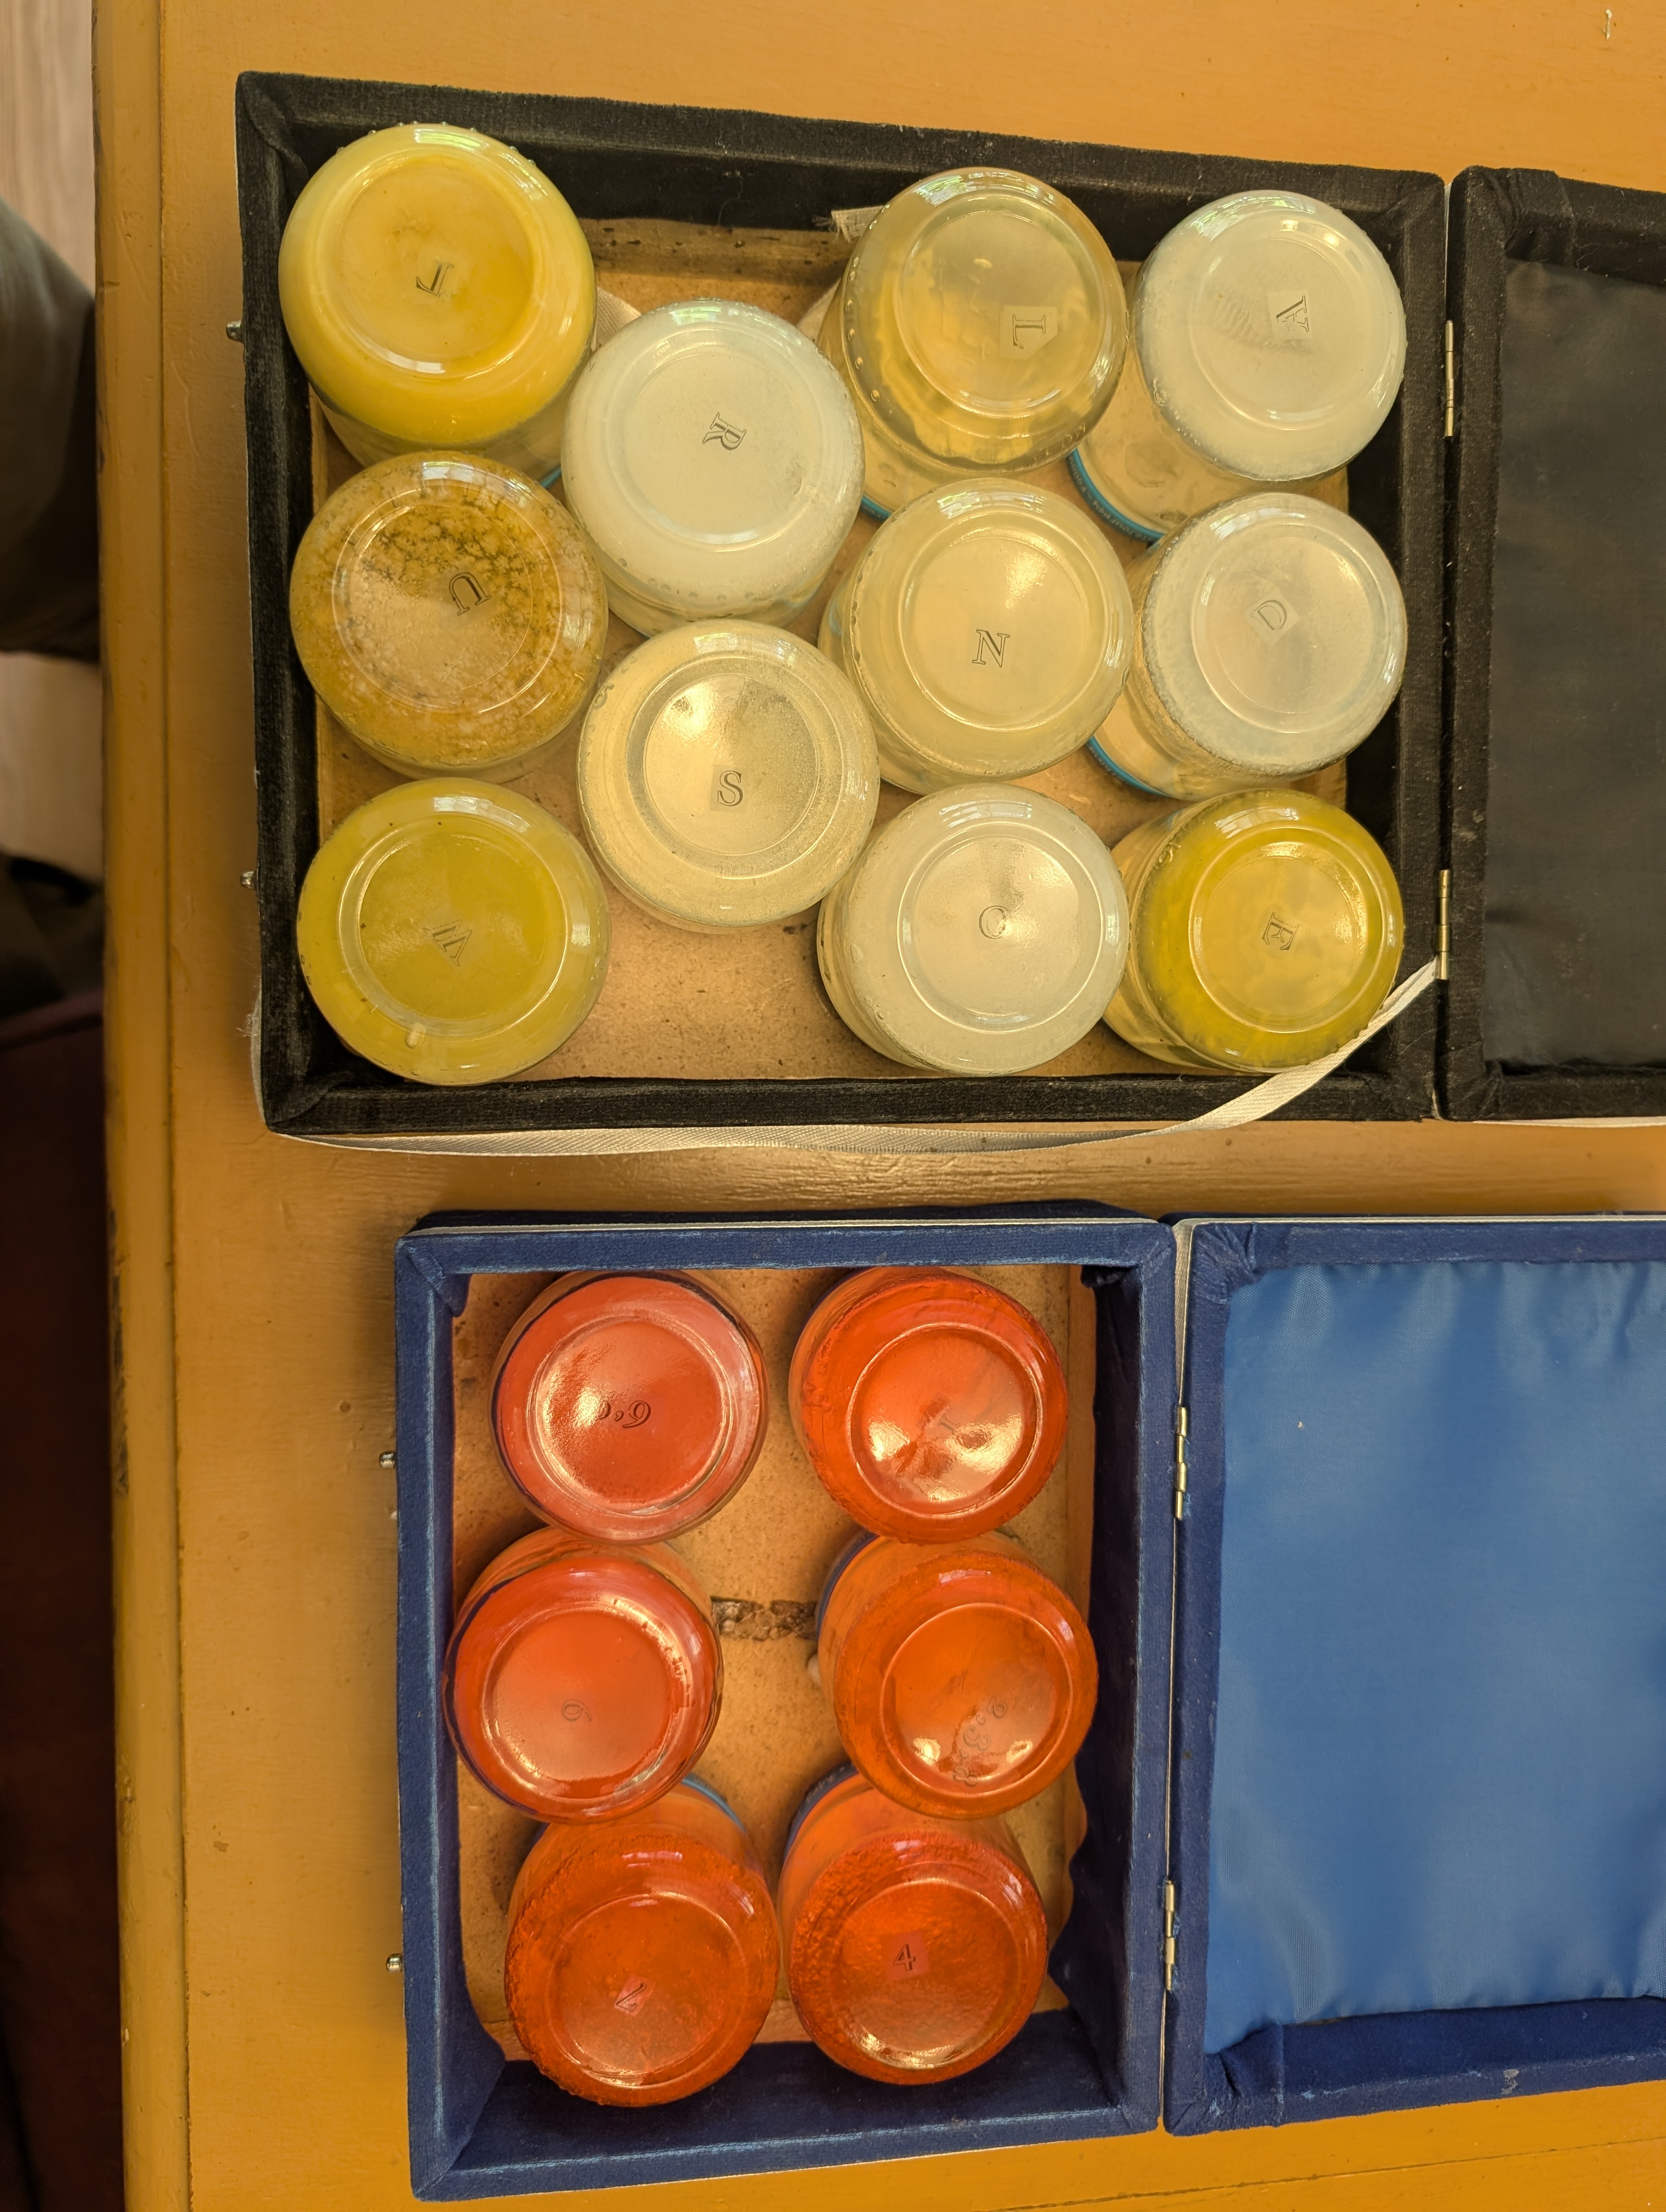


 The robot follows this wire to each "zone" and mows according to a set schedule. Most of the time, the robot mows in a straight line until it senses the wire, and then it picks a new heading randomly and goes in that direction! It's not that smart of an algorithm but it hits all of the spots eventually and makes a great looking yard.
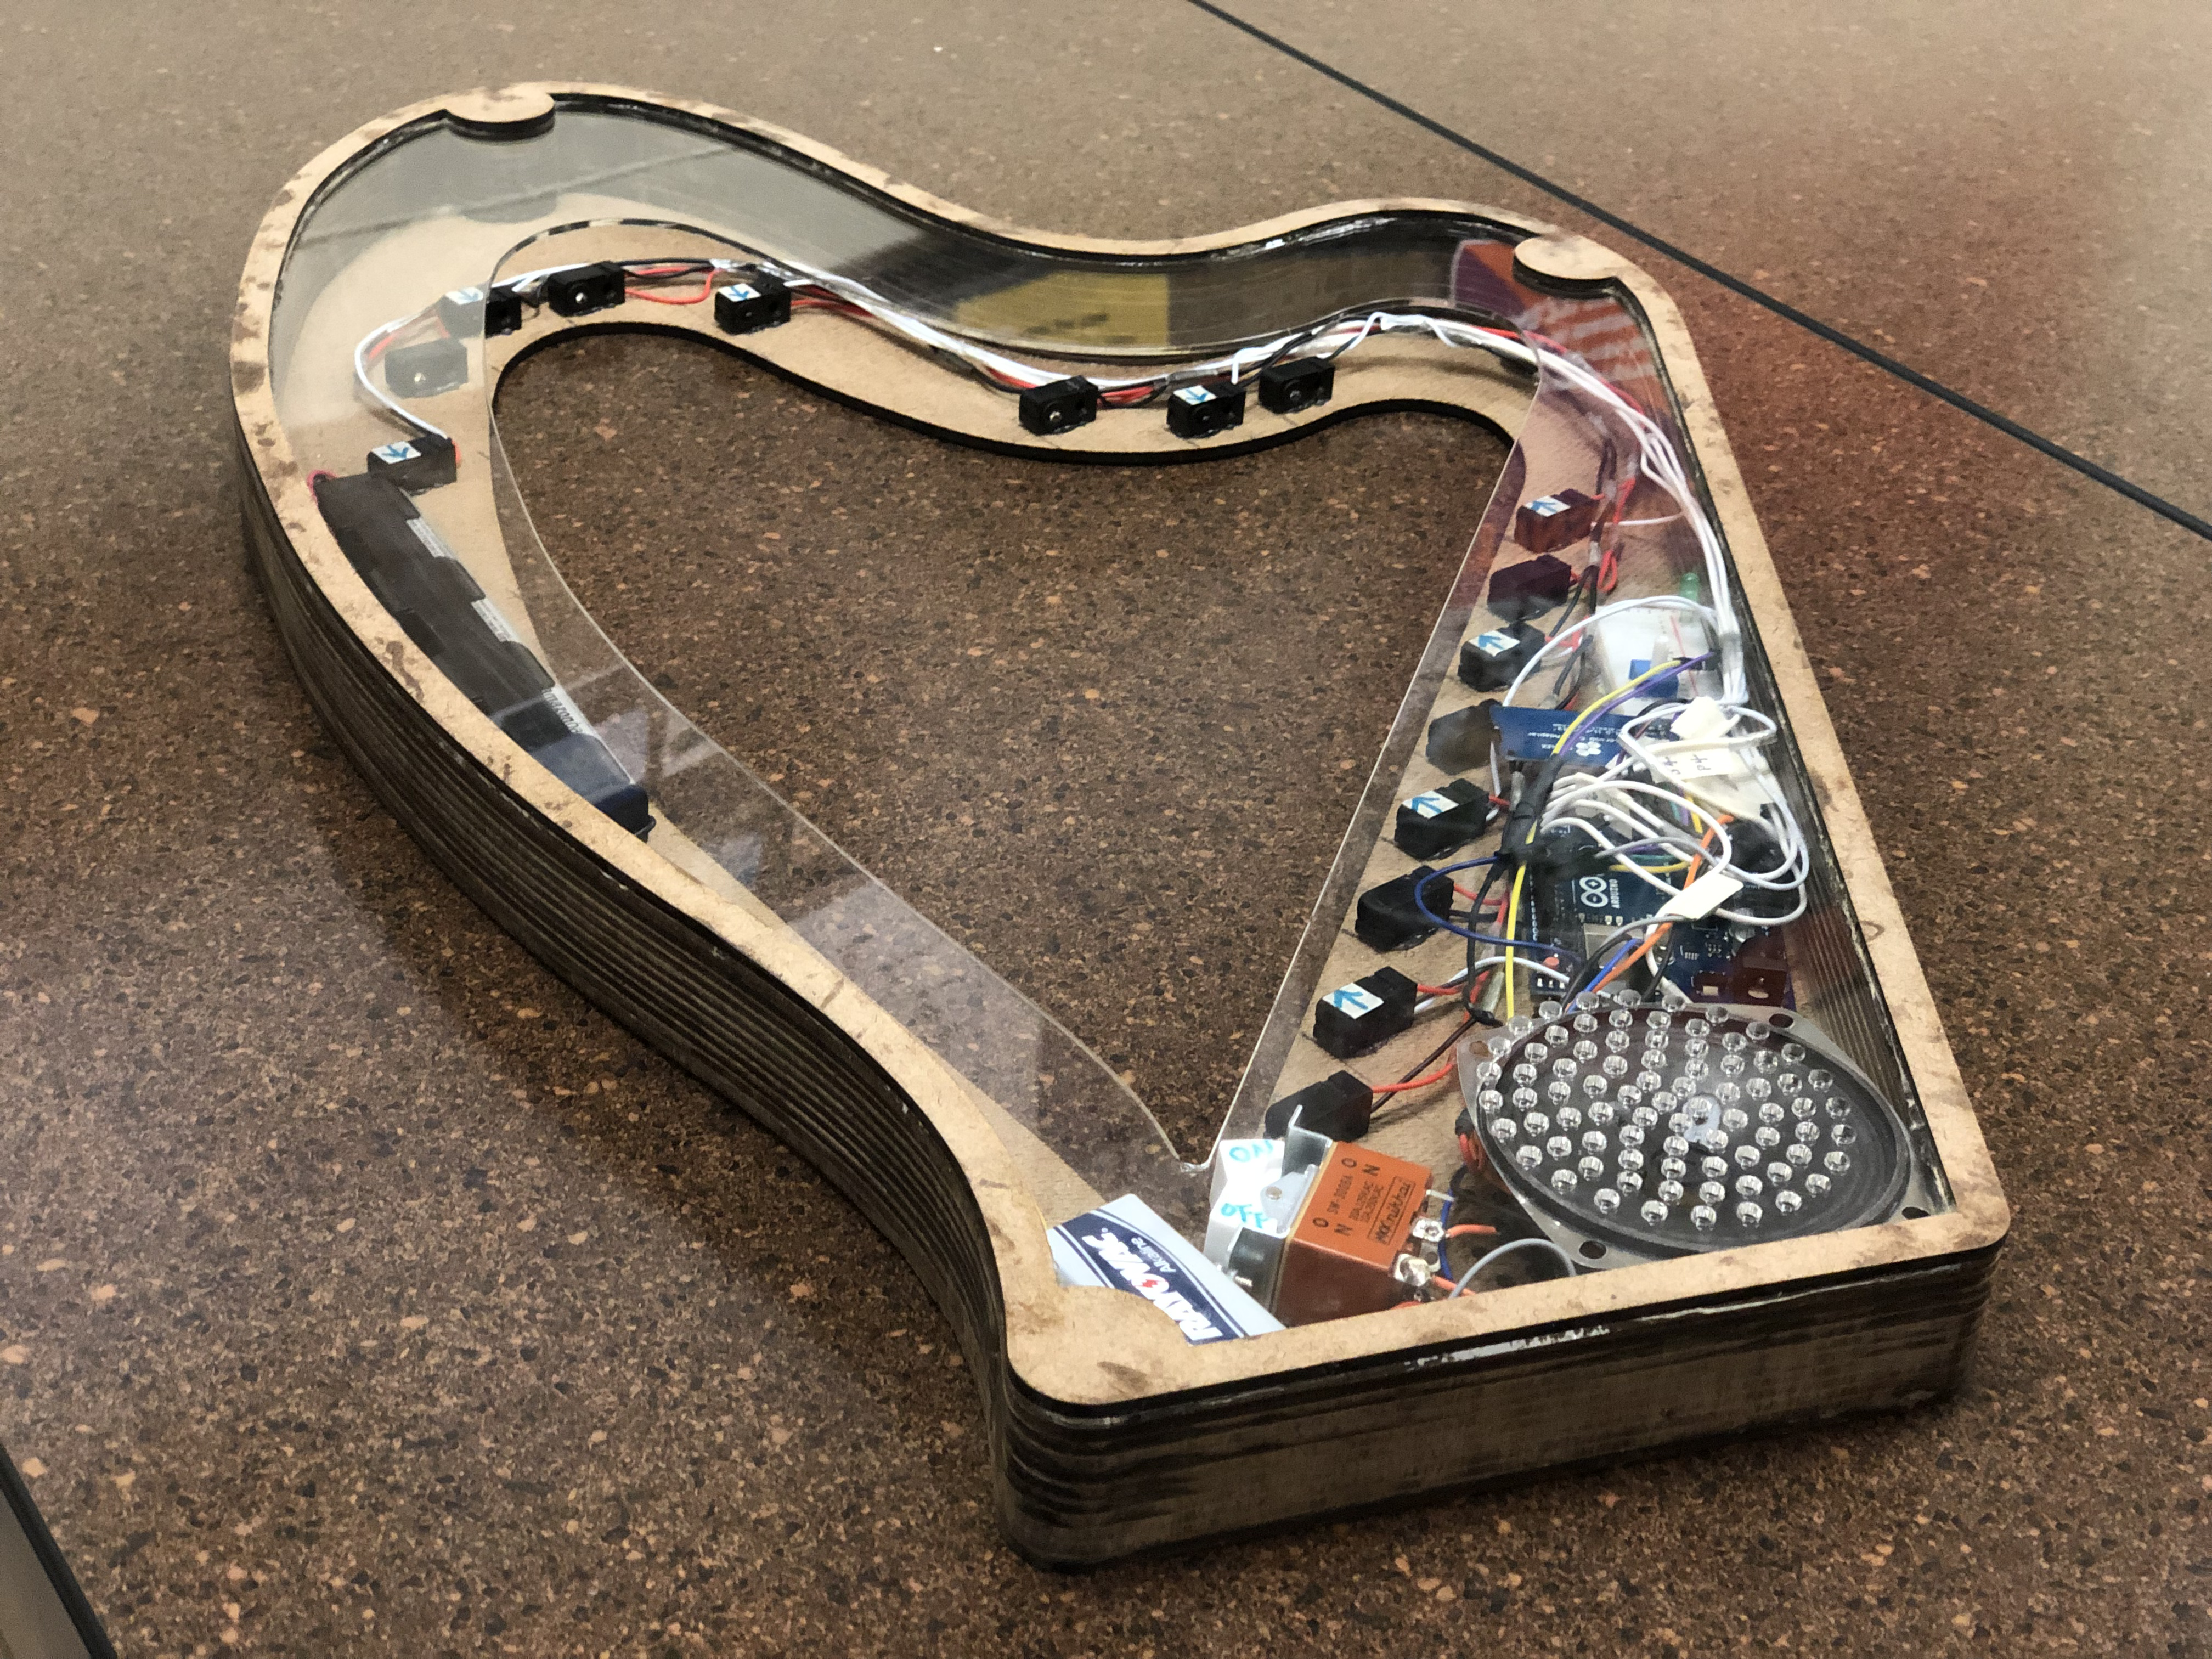
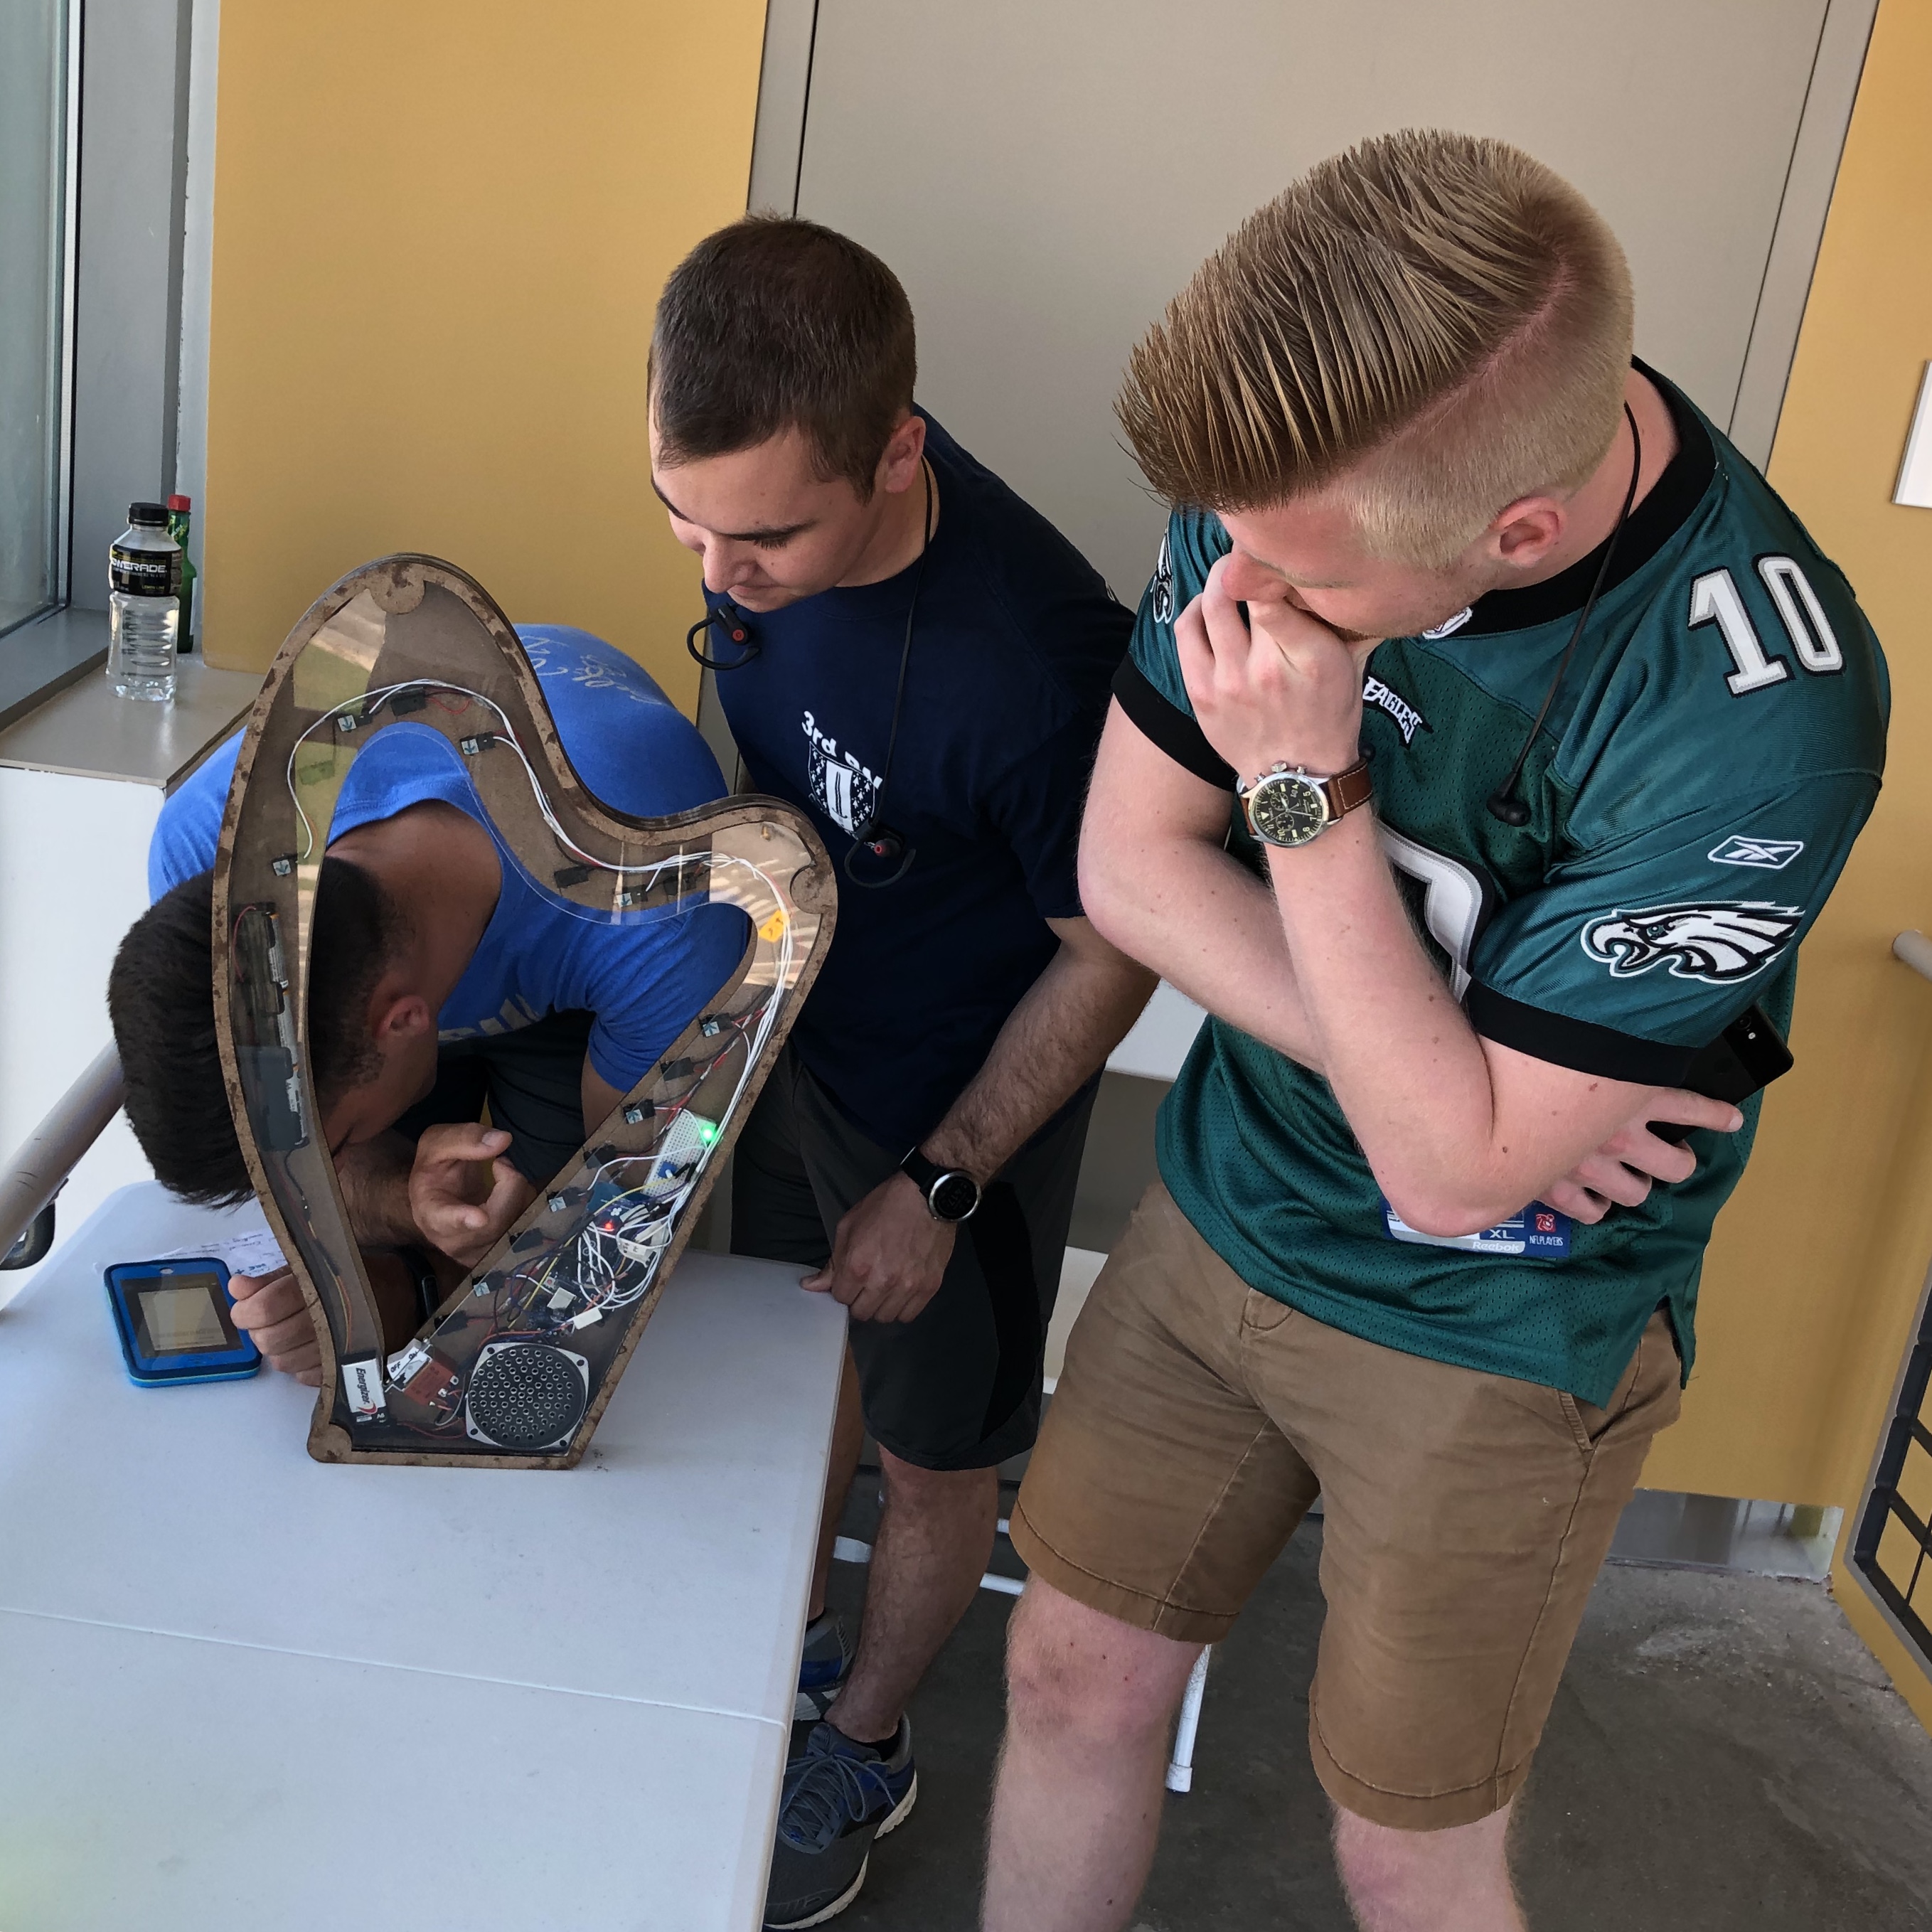
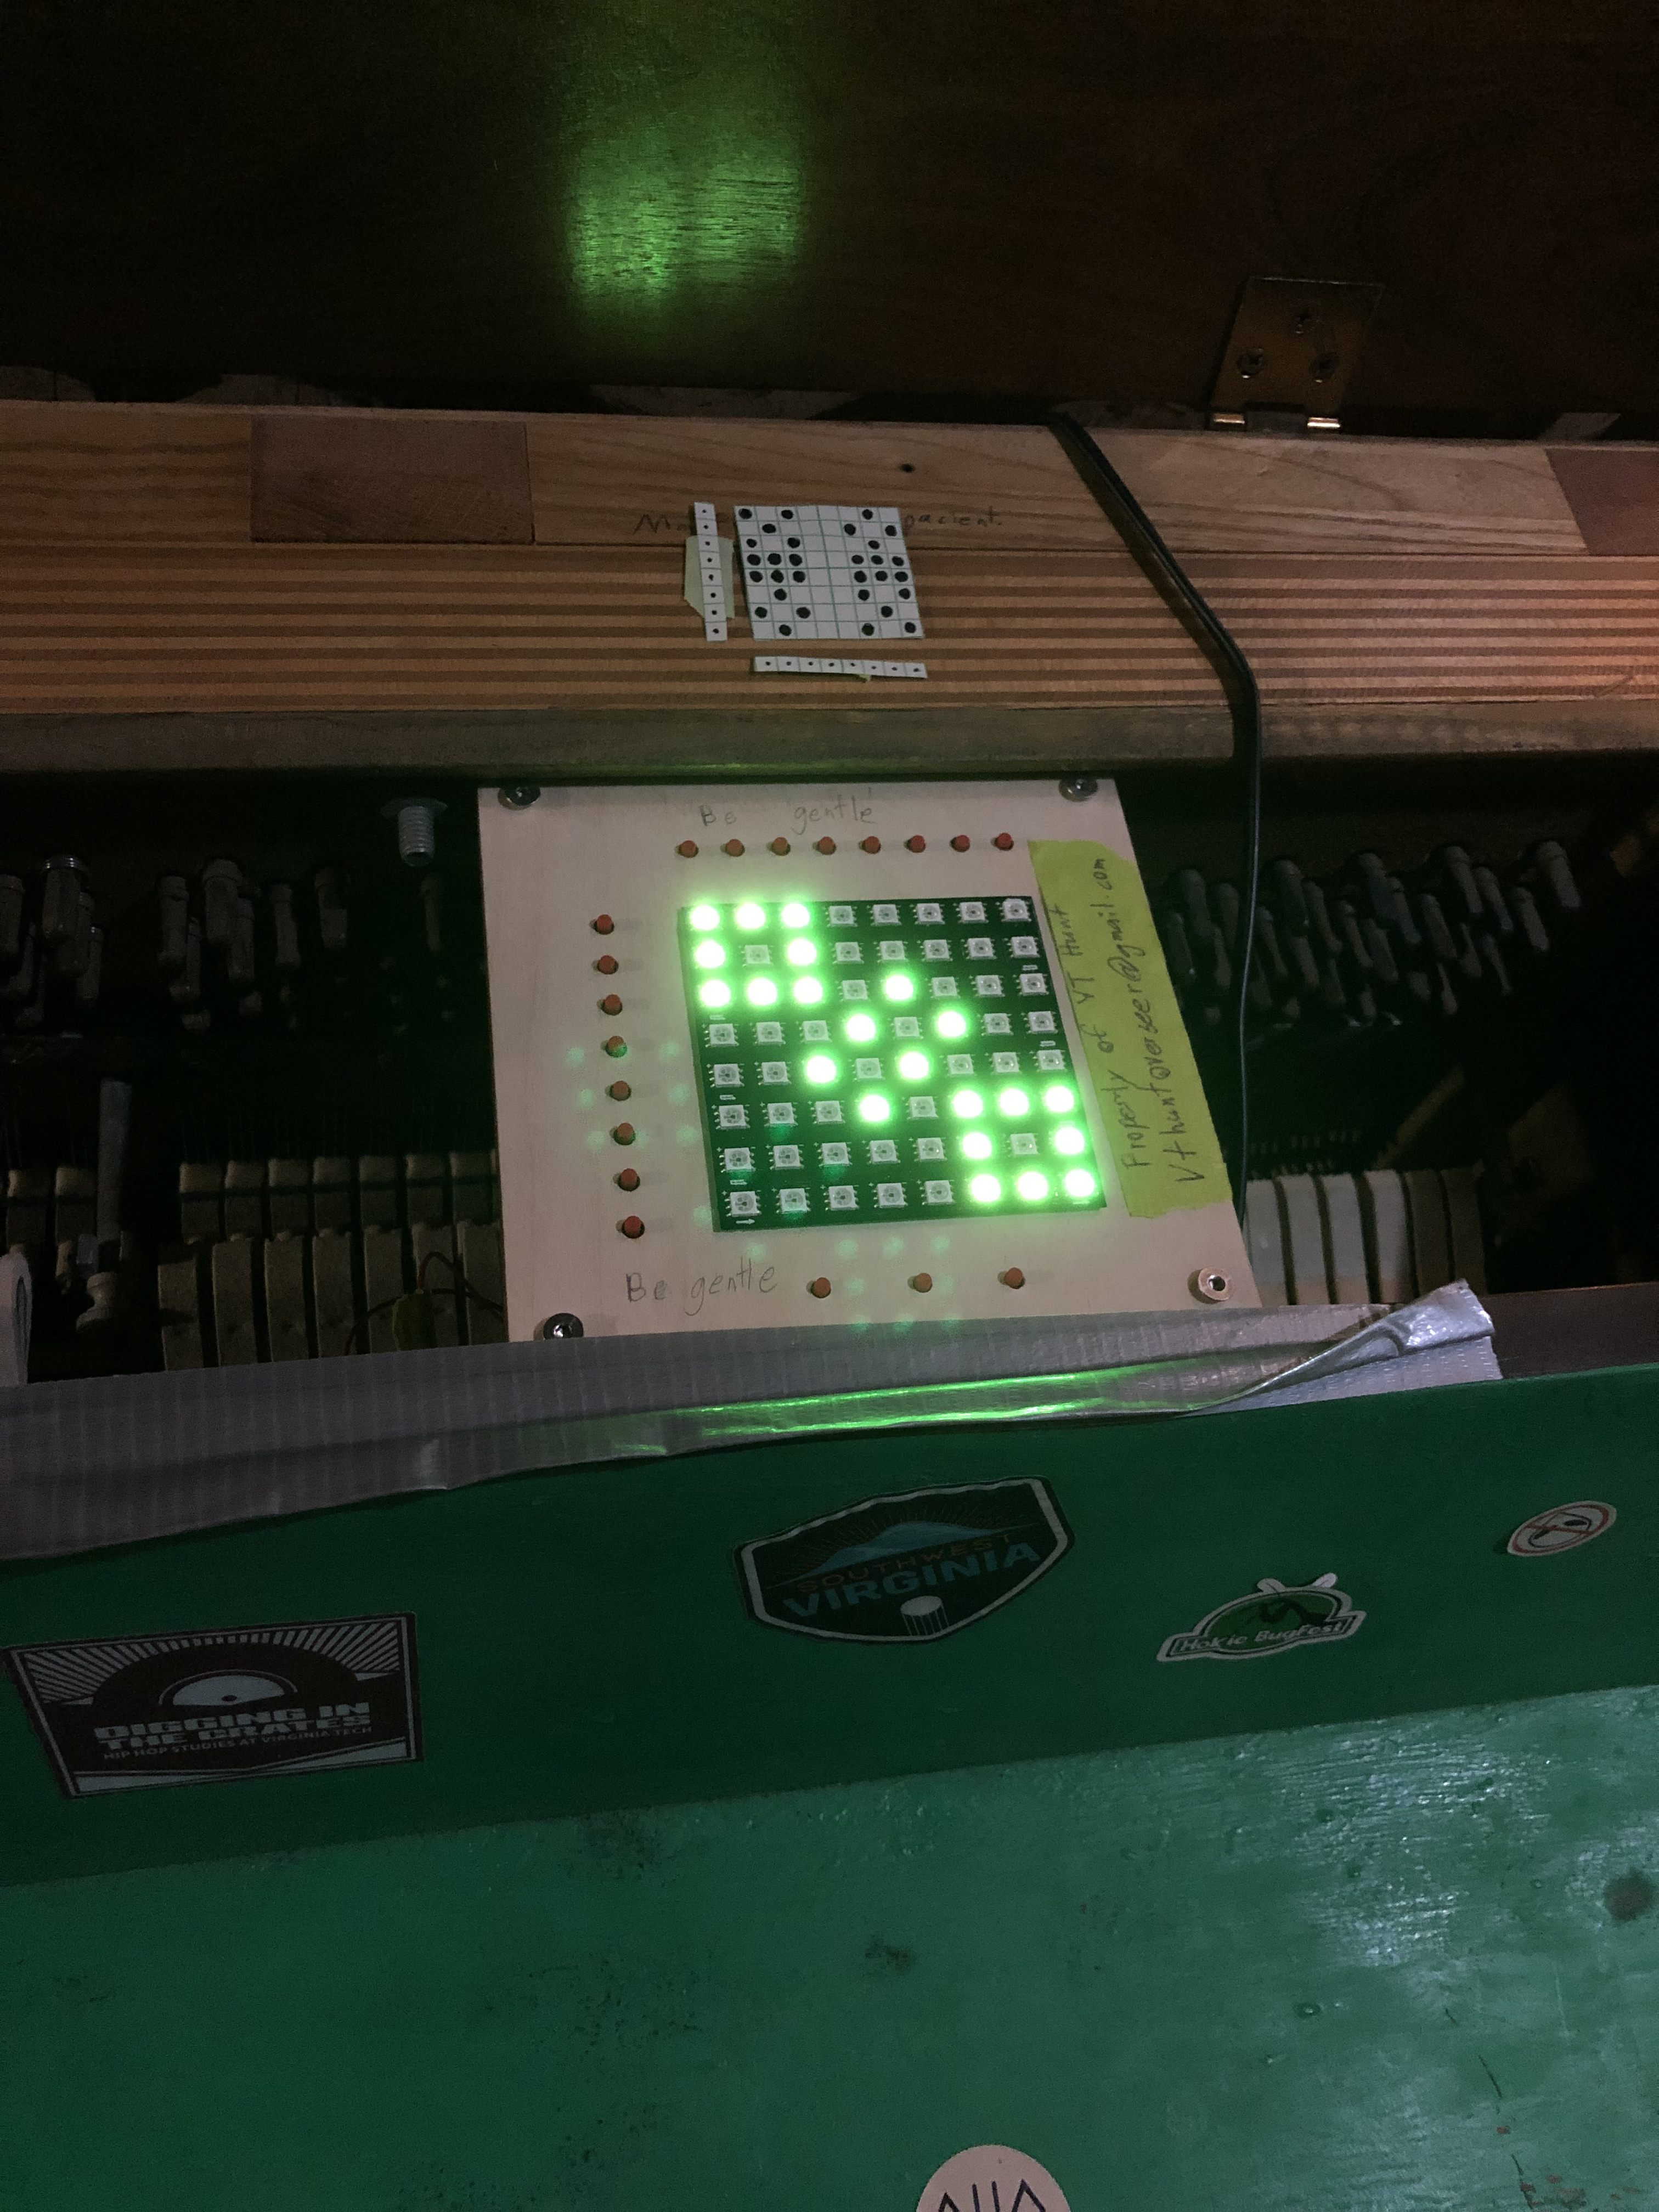
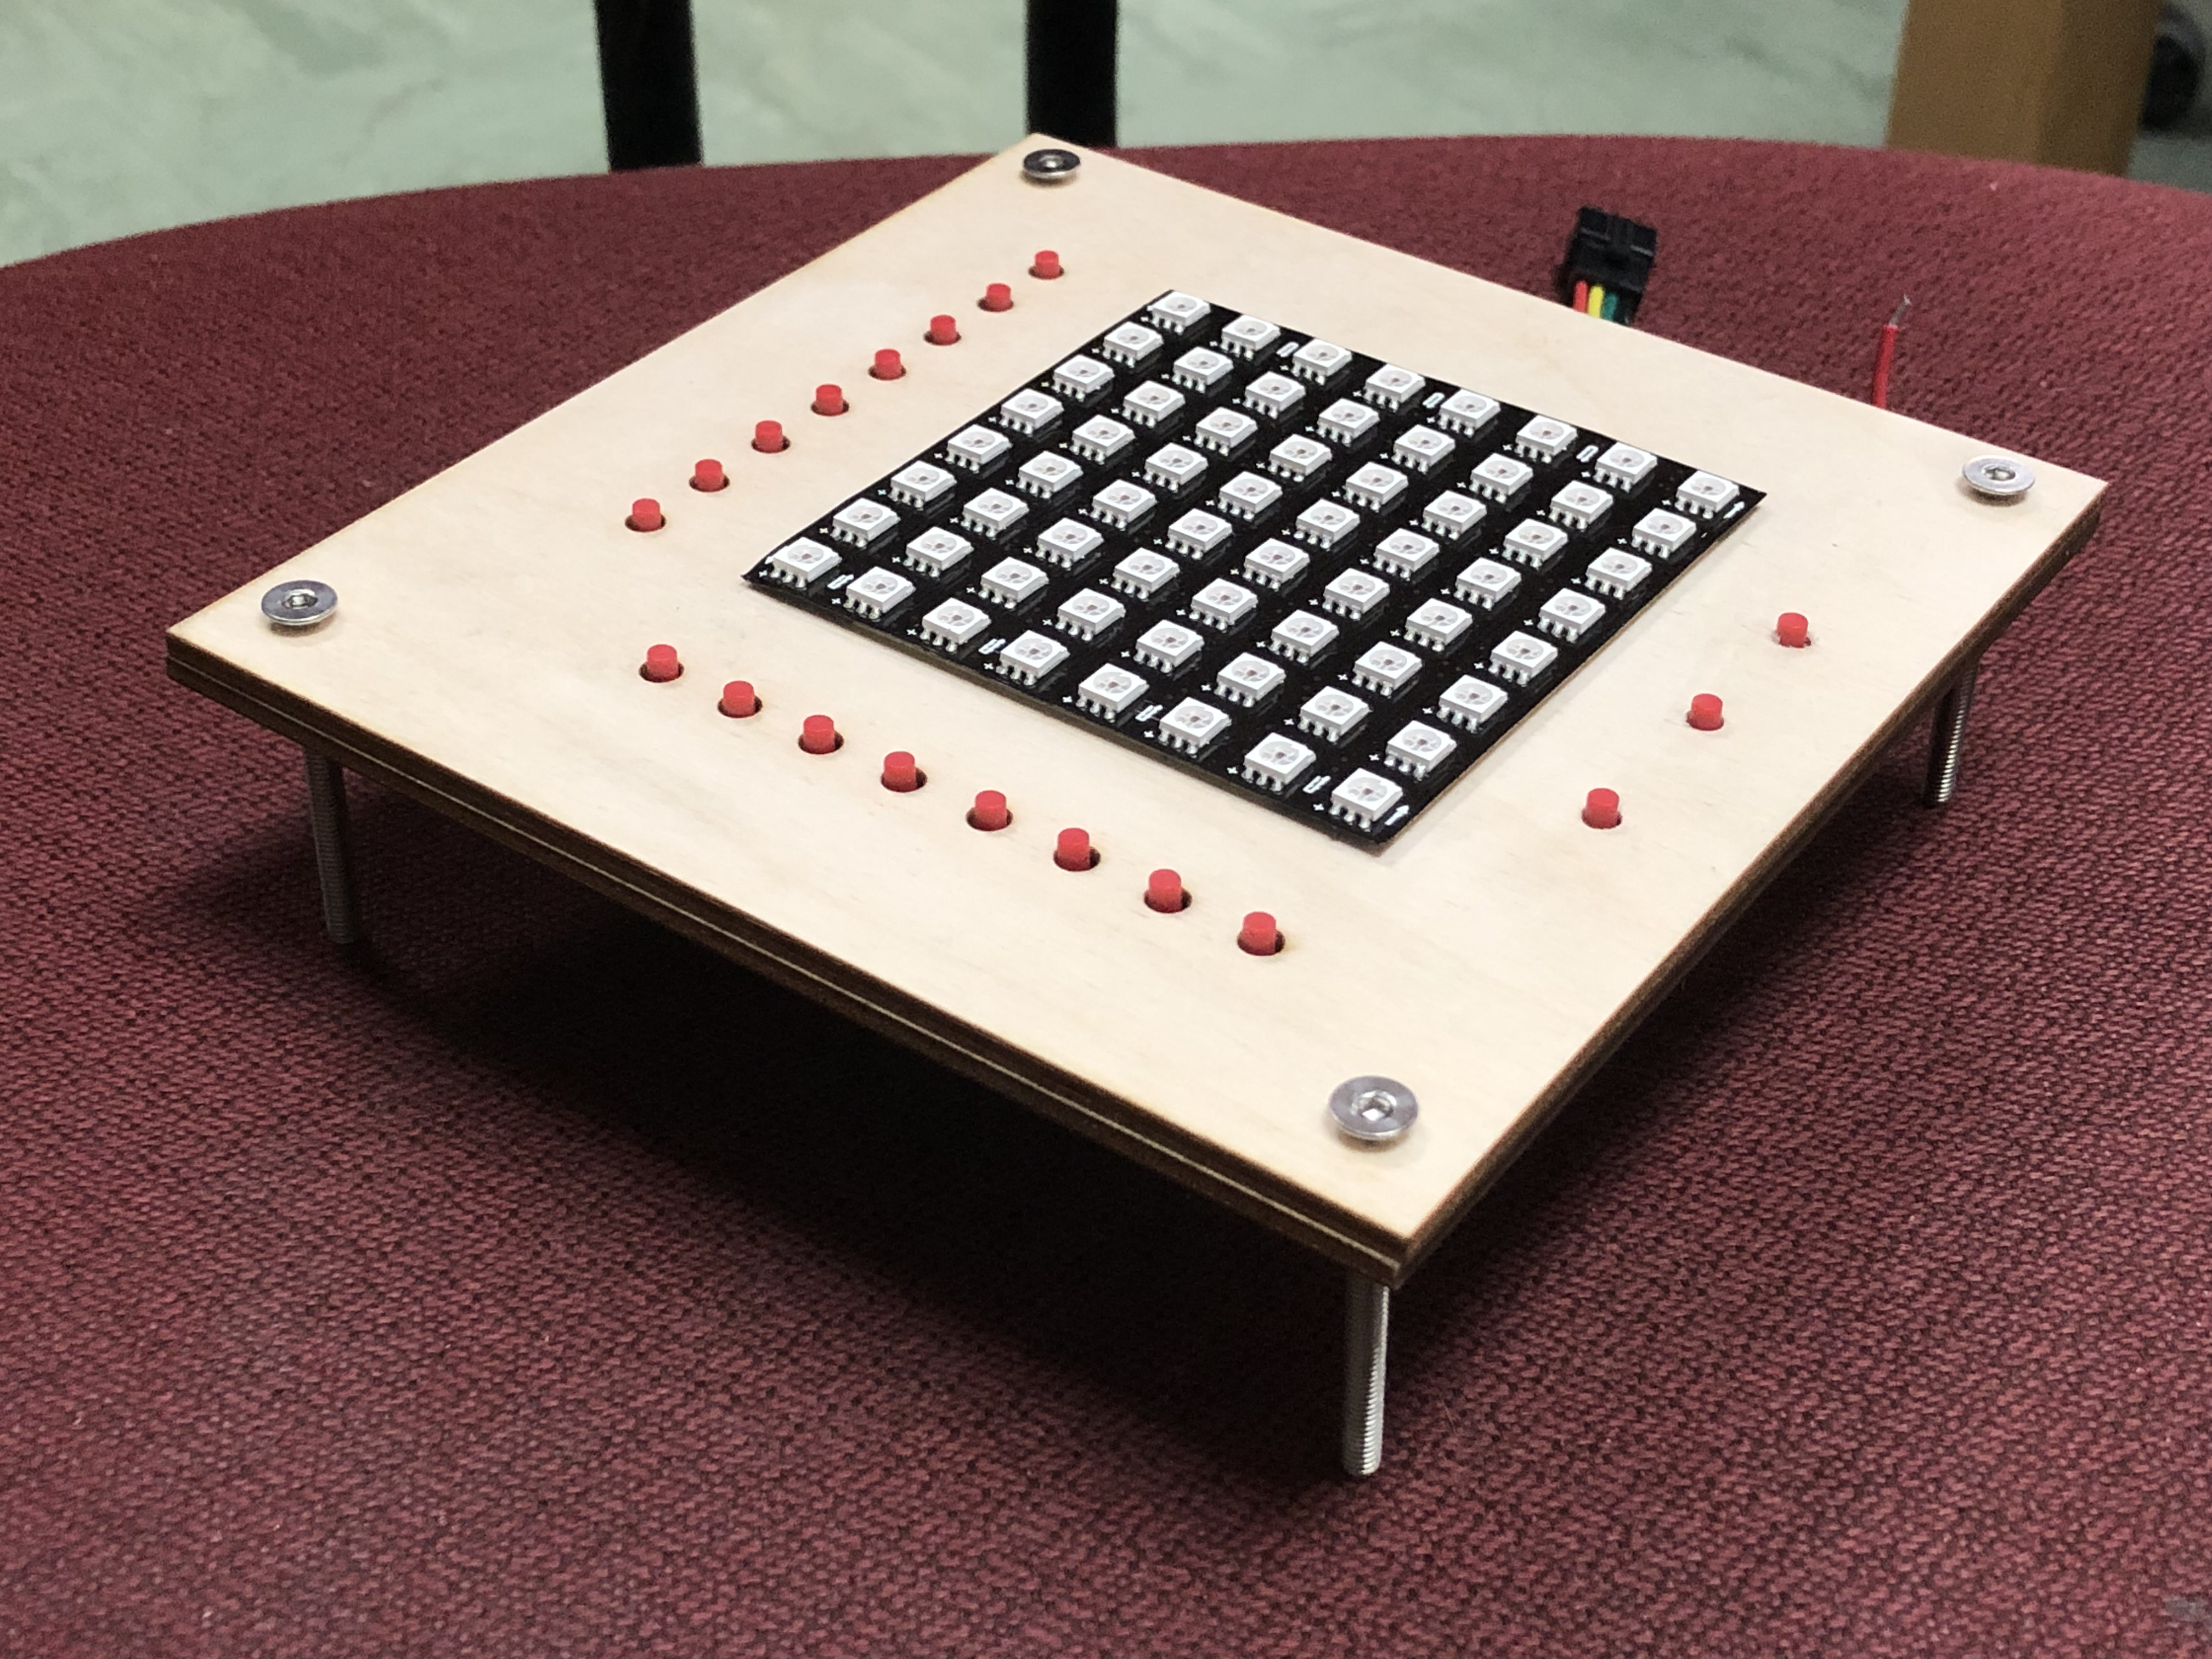 The user then needed to figure out how to make the specific shape given on the 8x8 LED display. No instructions were given, so the user was forced to play around and find out the functions. Three buttons at the bottom set different modes: toggle, on, and off. When a button by a row or column was pressed, that whole row or column would be set according to that rule!